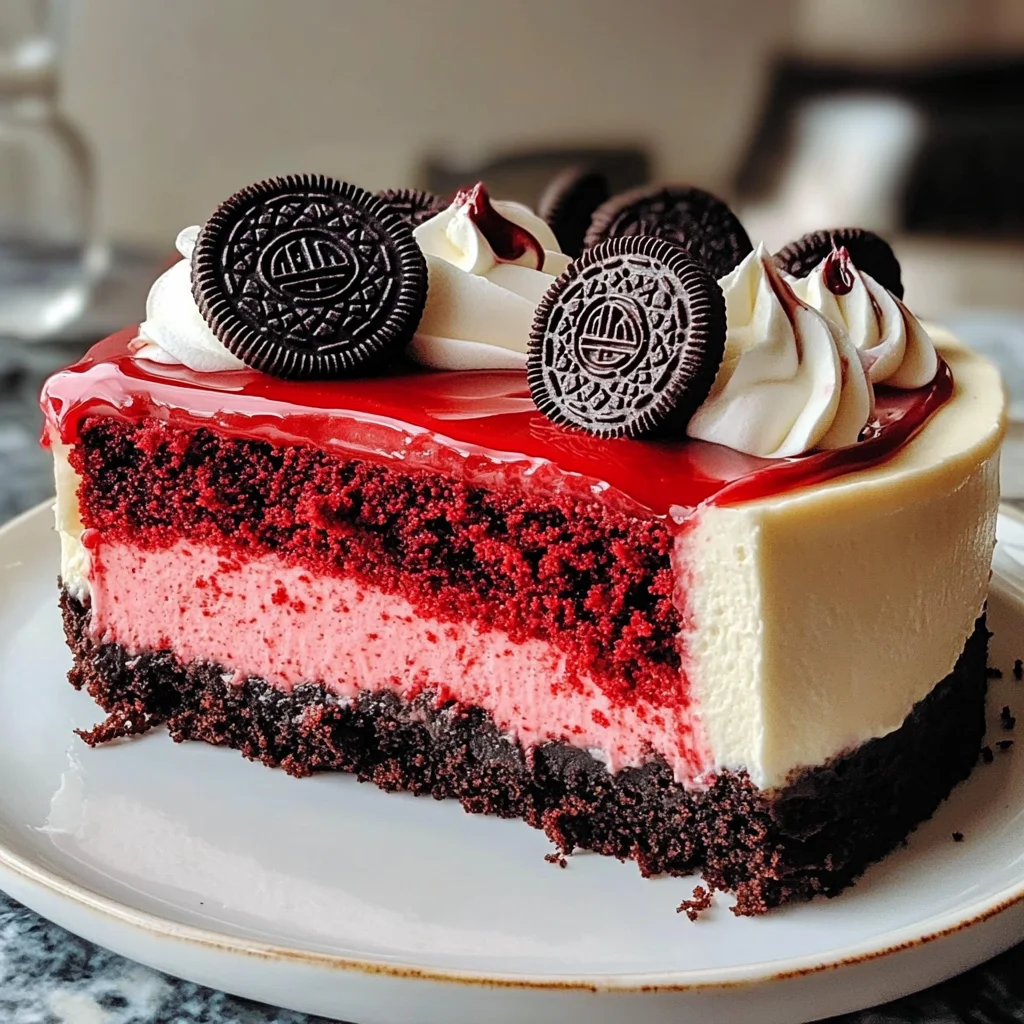
Red Velvet Oreo Cheesecake
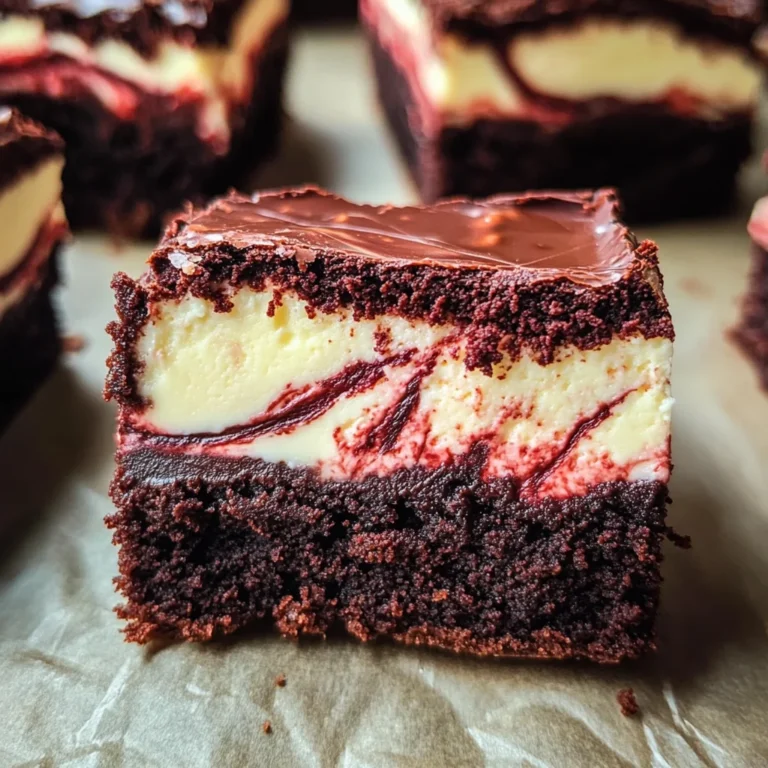
If you’re looking for a dessert that’s as stunning as it is delicious, then you’ve come to the right place! The Red Velvet Oreo Cheesecake has quickly become a favorite in my household. It combines the rich, velvety flavor of red velvet cake with a creamy cheesecake filling and a crunchy Oreo crust. Each bite is a delightful experience that will impress your guests at birthdays, family gatherings, or even just cozy weeknight dinners.
What makes this cheesecake so special? It’s not only visually appealing but also bursting with flavor and texture. Plus, it’s surprisingly easy to whip up! Trust me; once you serve this showstopper, everyone will be asking for your secret recipe!
Why You’ll Love This Recipe
- Easy to Prepare: This recipe uses simple steps and ingredients, making it perfect for bakers of all levels.
- Family-Friendly Appeal: With its rich flavors and fun colors, this cheesecake is sure to please both kids and adults alike.
- Make-Ahead Convenience: You can prepare this cheesecake a day in advance, freeing up time on the day of your event.
- Decadent Flavor Combination: The blend of creamy cheesecake with the chocolatey crunch of Oreos and the unique taste of red velvet is simply irresistible.
Ingredients You’ll Need
Let’s gather our ingredients! This Red Velvet Oreo Cheesecake uses simple and wholesome items that you may already have in your pantry. Here’s what you’ll need:
- 1 box (15.25 oz) Red Velvet Cake Mix
- 20 Oreo Cookies (for crust)
- 16 oz Cream Cheese (softened)
- 1 cup Sour Cream
- 1 cup Granulated Sugar
- 3 large Eggs (room temperature)
- ½ cup Unsalted Butter (melted)
- 2 tsp Vanilla Extract
Variations
One of the best things about this recipe is its flexibility! Feel free to get creative with these tasty variations:
- Add Some Spice: Mix in a teaspoon of cinnamon or nutmeg for an extra layer of flavor.
- Different Crust Options: Swap out Oreos for crushed graham crackers or vanilla wafers for a fun twist on the classic crust.
- Top It Off: Add whipped coconut cream or fresh berries on top before serving for a refreshing touch.
- Chocolate Drizzle: Drizzle melted dairy-free chocolate over the top for an indulgent finish.
How to Make Red Velvet Oreo Cheesecake
Step 1: Prepare the Crust
Preheat your oven to 350°F (175°C). Start by crushing those Oreo cookies into fine crumbs. Mixing them with melted butter creates a deliciously crunchy base that complements the creamy filling. Press this mixture firmly into the bottom of a springform pan. A solid crust means every slice holds together beautifully!
Step 2: Make the Creamy Filling
In a large bowl, beat your softened cream cheese until it’s smooth and creamy. This step is essential because it ensures a velvety texture throughout your cheesecake. Then, add in granulated sugar, sour cream, and vanilla extract—mix until silky smooth. Gradually incorporate each egg one at a time while mixing gently; this helps maintain that light texture.
Step 3: Combine with Red Velvet Cake Mix
Now it’s time to fold in the red velvet cake mix until just combined. Be careful not to overmix—this keeps your cheesecake airy and fluffy while adding that gorgeous color we love!
Step 4: Bake It Up
Pour your rich filling over the prepared crust in the springform pan. Bake for about 60 minutes or until it’s slightly jiggly in the center—the perfect sign that it’s cooked just right! This gentle baking process helps achieve that creamy texture we’re aiming for.
Step 5: Cool and Chill
Once baked, allow your Red Velvet Oreo Cheesecake to cool at room temperature before transferring it to the refrigerator. Chilling for at least four hours or overnight allows all those wonderful flavors to meld together and makes slicing easier.
And there you go! You’ve created an unforgettable dessert that’s sure to become a favorite among friends and family alike! Enjoy every moment as you share this delightful treat!
Pro Tips for Making Red Velvet Oreo Cheesecake
Making a cheesecake can seem daunting, but with these handy tips, you’ll be on your way to creating the perfect Red Velvet Oreo Cheesecake that will impress everyone!
-
Use Room Temperature Ingredients: Allowing your cream cheese and eggs to reach room temperature ensures a smoother batter, preventing lumps and resulting in a creamy texture.
-
Don’t Overmix: When adding the red velvet cake mix, fold it in gently. Overmixing can incorporate too much air, causing your cheesecake to crack during baking—no one wants that!
-
Check for Doneness: The cheesecake should be slightly jiggly in the center when you take it out of the oven. It will continue to set as it cools, so don’t be tempted to bake it until it’s completely firm.
-
Cool Gradually: After baking, let your cheesecake cool at room temperature before chilling it in the fridge. This gradual cooling helps prevent cracks and keeps the texture silky smooth.
-
Chill Overnight: If time allows, chilling your cheesecake overnight enhances the flavors and gives it a firmer texture, making slicing easier.
How to Serve Red Velvet Oreo Cheesecake
Serving your Red Velvet Oreo Cheesecake beautifully can make all the difference in presentation. Here are some ideas to elevate your dessert experience!
Garnishes
-
Whipped Coconut Cream: A dollop of light and fluffy whipped coconut cream adds a touch of sweetness and complements the richness of the cheesecake.
-
Chocolate Shavings: Sprinkle some chocolate shavings on top for an elegant touch that adds texture and a hint of extra chocolate flavor.
Side Dishes
-
Fresh Berries: A mix of strawberries, raspberries, and blueberries not only provides a burst of color but also balances the sweetness of the cheesecake with their tartness.
-
Mint Leaves: Fresh mint leaves can add a pop of color and freshness when placed alongside each slice. They enhance both visual appeal and flavor.
-
Coffee or Tea: Serving your cheesecake with a warm cup of coffee or herbal tea creates a delightful pairing that enhances the overall dessert experience.
With these thoughtful serving suggestions, your Red Velvet Oreo Cheesecake is sure to impress at any gathering! Enjoy every bite!
Make Ahead and Storage
This Red Velvet Oreo Cheesecake is perfect for meal prep, allowing you to enjoy a delicious dessert without the last-minute rush. You can prepare it ahead of time and store it for later, making it an excellent choice for gatherings and celebrations.
Storing Leftovers
- Place any leftover cheesecake in an airtight container.
- Store in the refrigerator for up to 5 days.
- For best results, keep it on a flat surface to maintain its shape.
Freezing
- Wrap the cheesecake tightly in plastic wrap or aluminum foil.
- Place it in a freezer-safe container or bag.
- Freeze for up to 2 months; thaw overnight in the refrigerator before serving.
Reheating
- While cheesecake is best served cold, if you prefer it slightly warmed:
- Preheat your oven to 300°F (150°C).
- Place slices on a baking sheet and warm for about 10 minutes until just heated through.
FAQs
Here are some common questions you might have about making this delightful dessert.
Can I make Red Velvet Oreo Cheesecake without eggs?
Yes! You can substitute eggs with unsweetened applesauce or a commercial egg replacer. This will help maintain the texture while keeping your cheesecake moist.
How do I know when my Red Velvet Oreo Cheesecake is done?
Your cheesecake should be slightly jiggly in the center when it’s finished baking. It will firm up as it cools, so don’t worry if it seems a bit wobbly!
What can I use instead of cream cheese in this recipe?
If you’re looking for an alternative, you can use vegan cream cheese or cashew cream blended until smooth. This way, you still get that creamy texture without using traditional cream cheese.
Can I use homemade red velvet cake mix?
Absolutely! If you have a favorite homemade red velvet cake recipe, feel free to substitute it for the box mix. Just ensure it’s adjusted to yield the right amount needed for this cheesecake.
Final Thoughts
I hope you’re as excited about making this Red Velvet Oreo Cheesecake as I am! Its rich flavors and beautiful presentation make it a standout dessert that will surely impress your friends and family. Enjoy creating this delightful treat, and don’t hesitate to share your experience or variations with me. Happy baking!
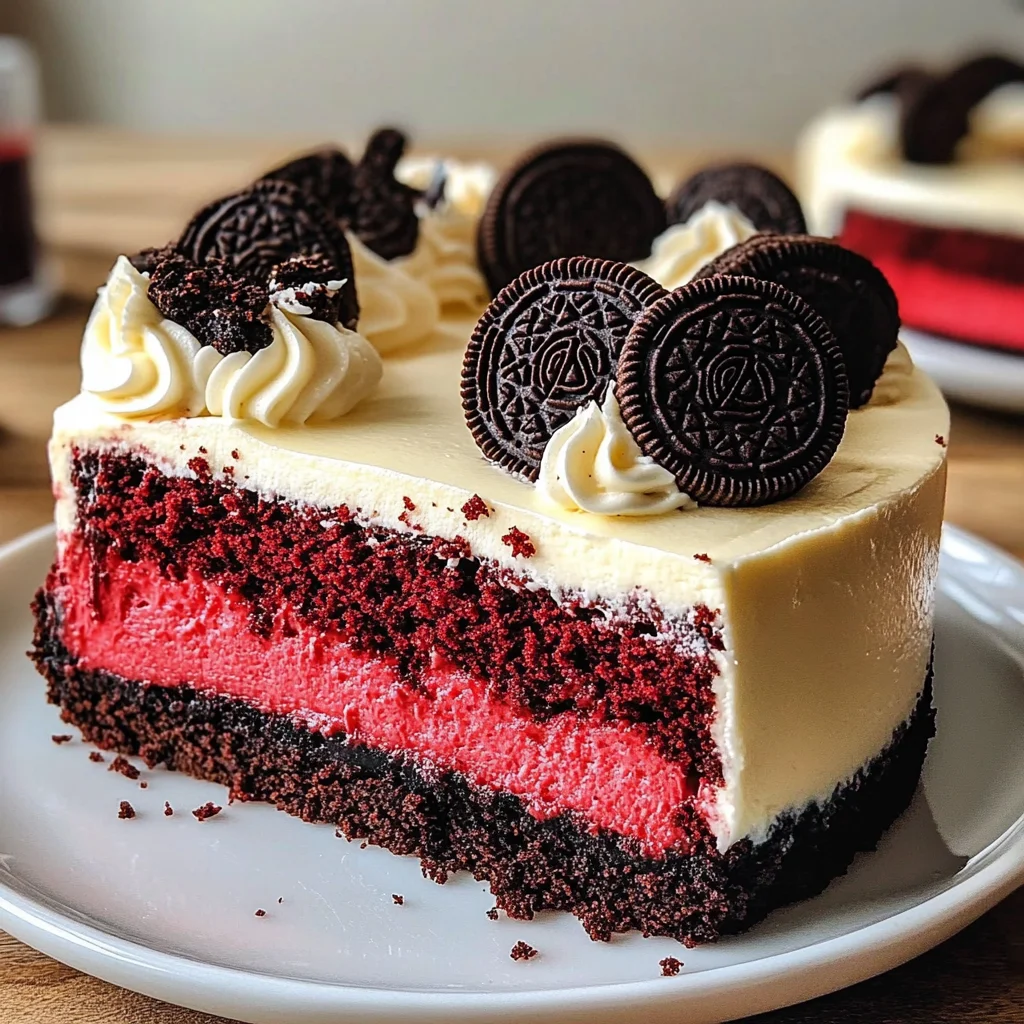
Red Velvet Oreo Cheesecake
Indulge in the delightful experience of making a Red Velvet Oreo Cheesecake, a dessert that is both visually stunning and irresistibly delicious. This cheesecake harmoniously blends the velvety richness of red velvet cake with a creamy cheesecake filling, all atop a crunchy Oreo crust. Perfect for birthdays, family gatherings, or cozy evenings at home, this showstopper will leave your guests asking for the recipe. With its straightforward preparation and family-friendly appeal, you’ll find that this cheesecake is as easy to make as it is enjoyable to eat.
- Prep Time: 20 minutes
- Cook Time: 60 minutes
- Total Time: 1 hour 20 minutes
- Yield: Serves approximately 12 slices 1x
- Category: Dessert
- Method: Baking
- Cuisine: American
Ingredients
- 1 box (15.25 oz) Red Velvet Cake Mix
- 20 Oreo Cookies (for crust)
- 16 oz Cream Cheese (softened)
- 1 cup Sour Cream
- 1 cup Granulated Sugar
- 3 large Eggs (room temperature)
- ½ cup Unsalted Butter (melted)
- 2 tsp Vanilla Extract
Instructions
- 1. Preheat your oven to 350°F (175°C). Crush Oreo cookies into fine crumbs and mix with melted butter. Press firmly into the bottom of a springform pan.
- 2. In a large bowl, beat softened cream cheese until smooth. Add granulated sugar, sour cream, and vanilla extract; mix until silky. Incorporate eggs one at a time.
- 3. Gently fold in red velvet cake mix until just combined.
- 4. Pour filling over the crust and bake for about 60 minutes until slightly jiggly in the center.
- 5. Cool at room temperature before refrigerating for at least four hours or overnight.
Nutrition
- Serving Size: 1 slice (100g)
- Calories: 350
- Sugar: 24g
- Sodium: 320mg
- Fat: 22g
- Saturated Fat: 12g
- Unsaturated Fat: 8g
- Trans Fat: 0g
- Carbohydrates: 34g
- Fiber: 1g
- Protein: 6g
- Cholesterol: 85mg