Italian Ricotta Cake
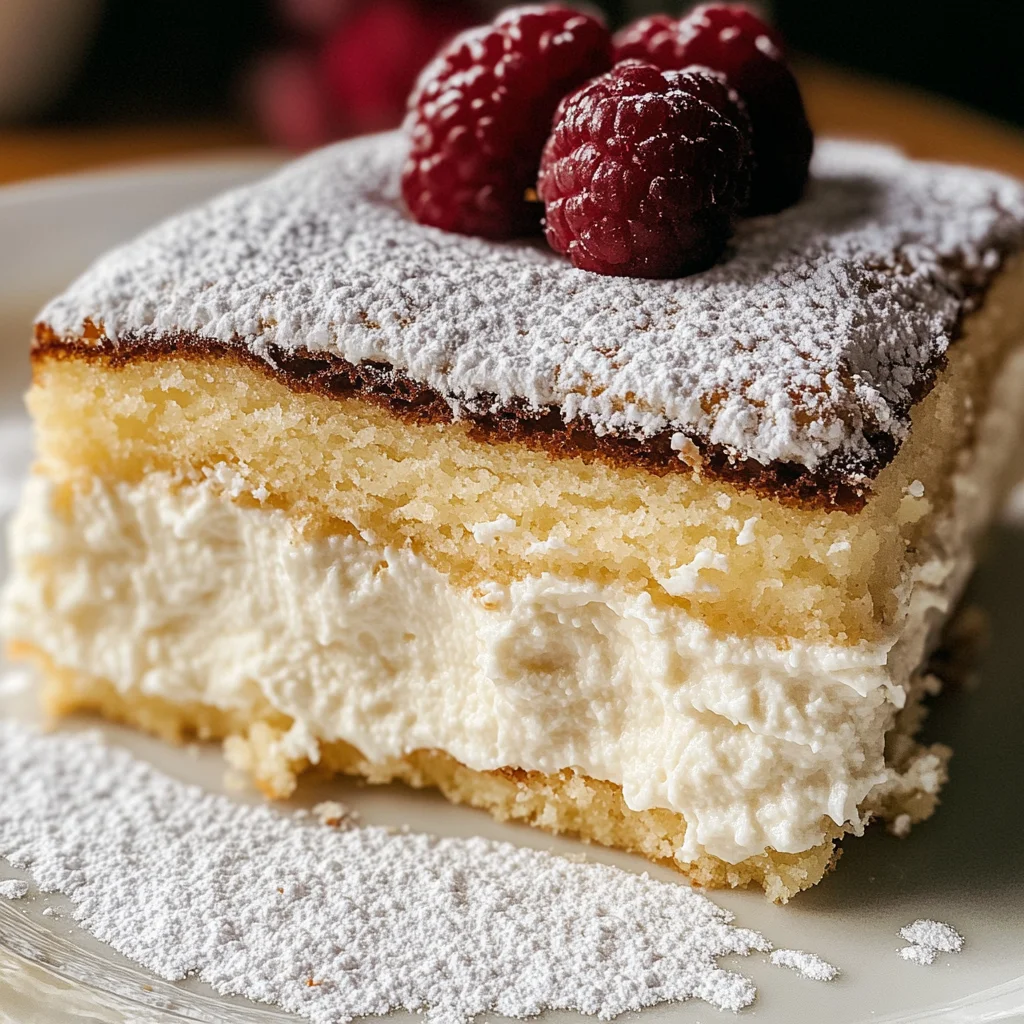
If you’re looking for a dessert that feels like a warm hug, then this Italian Ricotta Cake is just what you need! This delightful cake is a family favorite in my home, and for good reason. With its luscious ricotta cream layer and fluffy vanilla cake layer, it’s a treat that pleases everyone at the table. Whether it’s a busy weeknight or a special family gathering, this cake brings smiles all around.
What I love most about this Italian Ricotta Cake is not just its incredible taste but also how easy it is to whip up. You can impress your friends and family without spending hours in the kitchen. Plus, it’s perfect for any occasion—holidays, birthdays, or simply as a sweet surprise!
Why You’ll Love This Recipe
- Quick Preparation: With just 15 minutes of prep time, you can have this delicious cake on the way to the oven!
- Family-Friendly: Everyone loves the creamy texture and sweet flavor—it’s sure to become a new favorite.
- Make-Ahead Convenience: This cake can be made in advance, allowing the flavors to meld beautifully overnight.
- Elegant Presentation: Its unique layered design looks stunning on any dessert table.
- Versatile Flavor: The mild flavors of ricotta and vanilla allow for endless customization!
Ingredients You’ll Need
These ingredients are simple and wholesome, making it easy for anyone to create this delightful dessert at home. Here’s what you’ll need:
For the Ricotta Cream Layer:
- 2 (15-ounce) containers full-fat ricotta cheese
- ¾ cup granulated sugar
- 1 teaspoon pure vanilla extract
- 4 large eggs, at room temperature
For the Vanilla Cake Layer:
- 1 (15.25-ounce) box vanilla, white, or yellow cake mix
- ½ cup neutral oil (vegetable or canola)
- 1 cup water
- 3 large eggs
Variations
This recipe is wonderfully flexible! Here are some fun ways to customize your Italian Ricotta Cake:
- Add Fresh Fruit: Toss in some berries or sliced peaches into the ricotta layer for a fruity twist.
- Incorporate Citrus Zest: A tablespoon of lemon or orange zest can brighten up the flavors beautifully!
- Experiment with Extracts: Swap out vanilla extract for almond or coconut for a different flavor profile.
- Top with Chocolate Chips: Sprinkle mini chocolate chips on top of the batter before baking for a sweet surprise.
How to Make Italian Ricotta Cake
Step 1: Preheat Your Oven
Preheat your oven to 350°F (175°C). Greasing and lightly flouring a 9×13-inch baking dish ensures that your cake will come out clean and beautiful.
Step 2: Prepare the Ricotta Layer
In a large mixing bowl, combine the ricotta cheese, granulated sugar, vanilla extract, and eggs. Beat everything together until smooth and creamy. This step creates that luscious custard-like base that makes this cake so special.
Step 3: Make the Cake Batter
In another bowl, prepare your cake batter by mixing together the cake mix, neutral oil, water, and eggs according to package directions. Mixing until smooth is important to ensure even baking.
Step 4: Layer It Up
Gently pour the cake batter over the ricotta mixture in your prepared baking dish. Do not stir! The magic happens during baking when the layers naturally invert.
Step 5: Bake to Perfection
Bake your cake for 50–60 minutes or until it’s golden brown on top and a toothpick inserted into the cake layer comes out clean. The aroma wafting through your kitchen will be irresistible!
Step 6: Cool and Serve
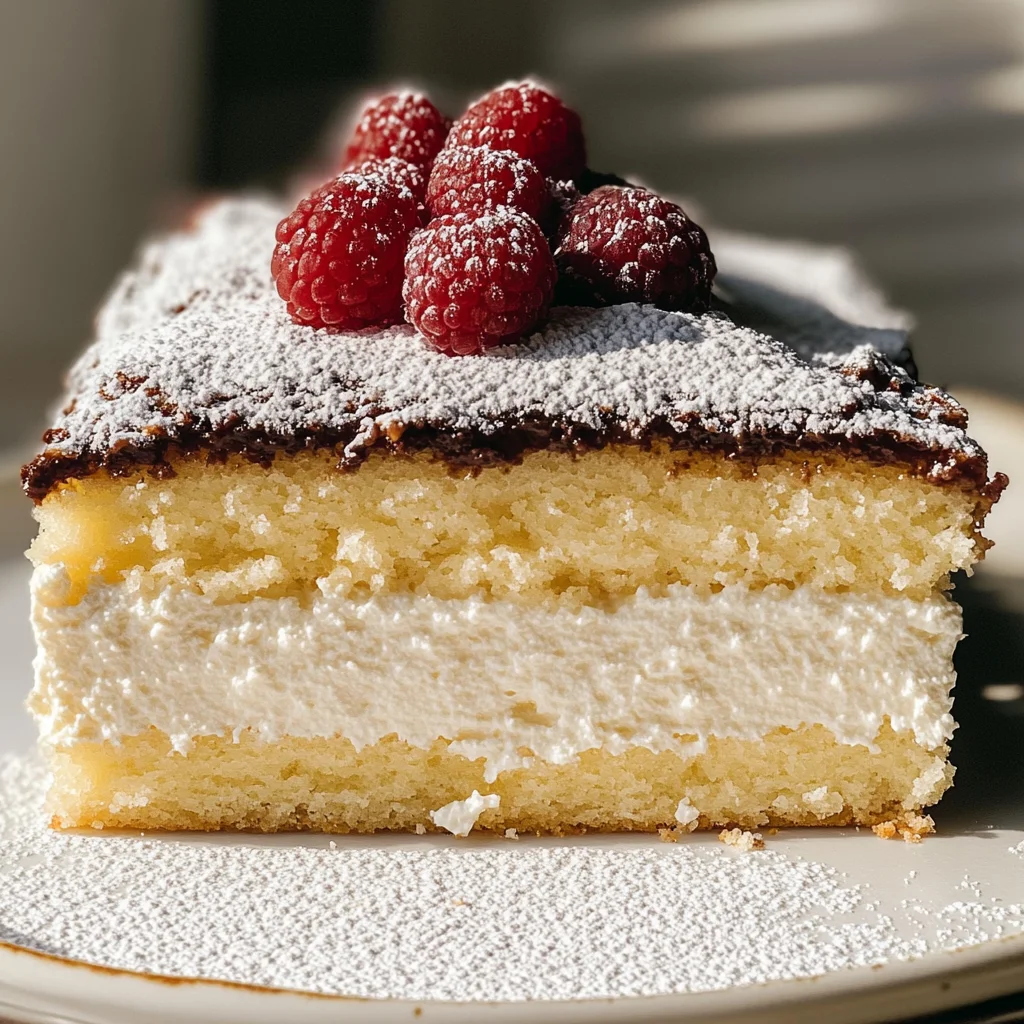
Once baked, let your Italian Ricotta Cake cool completely before slicing. You can serve it as is or dust it with powdered sugar for an elegant touch that adds just a hint of sweetness.
Enjoy sharing this delightful dessert with friends and family—it truly captures the warmth of Italian home cooking!
Pro Tips for Making Italian Ricotta Cake
Making an Italian Ricotta Cake can be a delightful experience, and these pro tips will help ensure your cake turns out perfectly every time!
-
Use room temperature ingredients: Allowing your eggs and ricotta cheese to reach room temperature helps create a smooth batter and ensures even baking. This step is crucial for achieving that creamy texture you desire.
-
Don’t skip the greasing step: Properly greasing and flouring your baking dish prevents the cake from sticking, making it easier to slice and serve later. This little detail can make a big difference in presentation!
-
Let it cool completely: Patience is key! Allowing the cake to cool fully before slicing helps the layers set properly, ensuring each piece holds its shape beautifully when served.
-
Experiment with flavors: Feel free to add zest from a lemon or orange into the ricotta filling for an extra burst of flavor. This brightens up the dessert and gives it a lovely twist that complements the creaminess of the ricotta.
-
Store leftovers correctly: If you have any cake left over, store it in an airtight container in the refrigerator. It’s delicious chilled and can be enjoyed for several days, making it perfect for meal prep or snacking!
How to Serve Italian Ricotta Cake
Serving your Italian Ricotta Cake is just as important as baking it! Here are some creative ideas to present this delightful dessert.
Garnishes
- Fresh berries: A handful of strawberries or blueberries adds a pop of color and freshness, enhancing both flavor and visual appeal.
- Powdered sugar dusting: A light dusting of powdered sugar on top creates an elegant finish that elevates the overall presentation without overpowering the cake’s flavors.
Side Dishes
- Whipped coconut cream: For a dairy-free option, serve a dollop of whipped coconut cream alongside each slice. Its lightness complements the richness of the ricotta cake beautifully.
- Fruit salad: A simple fruit salad made with seasonal fruits provides a refreshing contrast to the creamy texture of the cake, making each bite feel balanced.
- Herbal tea: Pairing your slice with a warm cup of herbal tea can enhance your dining experience. The soothing flavors work well with the sweetness of the cake.
- Coffee or espresso: For those who enjoy coffee, serving this cake with a cup of strong coffee or espresso can create an authentic café-style indulgence.
With these serving suggestions and tips, your Italian Ricotta Cake will not only taste amazing but also look stunning on any dessert table!
Make Ahead and Storage
This Italian Ricotta Cake is perfect for meal prep, making it a delightful treat that you can enjoy any day of the week. Whether you’re planning a special occasion or just want to indulge yourself, this cake stores beautifully, allowing you to savor its rich flavors at your leisure.
Storing Leftovers
- Allow the cake to cool completely before storing.
- Cover the cake with plastic wrap or aluminum foil.
- Store in the refrigerator for up to 5 days.
- For best texture, slice individual portions as needed rather than cutting the entire cake.
Freezing
- Slice the cooled cake into individual servings.
- Wrap each slice tightly in plastic wrap followed by aluminum foil to prevent freezer burn.
- Store in the freezer for up to 3 months.
- Label with the date for reference.
Reheating
- Remove desired slices from the freezer and let them thaw in the refrigerator overnight.
- For a warm slice, preheat your oven to 350°F (175°C).
- Place the slice on a baking sheet and heat for about 10-15 minutes until warmed through.
- Alternatively, you can microwave it for about 20-30 seconds on medium power.
FAQs
Here are some common questions readers might have about this delightful Italian Ricotta Cake.
Can I use low-fat ricotta cheese for Italian Ricotta Cake?
While you can use low-fat ricotta cheese, it may alter the creamy texture of the ricotta cream layer. Full-fat ricotta provides a richer flavor and creaminess that enhances this dessert.
How should I serve Italian Ricotta Cake?
Italian Ricotta Cake can be served plain or dusted with powdered sugar. For an extra touch, consider adding fresh berries or a drizzle of honey on top!
Can I make Italian Ricotta Cake ahead of time?
Absolutely! This cake stores well in the refrigerator and can also be frozen, making it an excellent option for meal prep or special occasions.
Is there a gluten-free version of Italian Ricotta Cake?
Yes! You can substitute the boxed cake mix with a gluten-free cake mix. Just ensure all other ingredients are gluten-free for a safe alternative.
Final Thoughts
I hope you enjoy making this Italian Ricotta Cake as much as I do! It’s more than just a dessert; it’s an experience filled with rich flavors and comforting textures that remind us of home. Whether you’re celebrating or simply treating yourself, this recipe is sure to impress. Happy baking!
Italian Ricotta Cake

Indulge in the delightful experience of making an Italian Ricotta Cake, a dessert that embodies comfort and joy with every slice. This layered cake features a creamy ricotta layer paired with a fluffy vanilla cake base, creating a harmonious balance of textures and flavors that will leave everyone at your table smiling. Perfect for any occasion, whether it’s a holiday gathering or a simple weeknight treat, this cake is as easy to prepare as it is impressive.
- Prep Time: 15 minutes
- Cook Time: 60 minutes
- Total Time: 1 hour 15 minutes
- Yield: Serves approximately 12 slices 1x
- Category: Dessert
- Method: Baking
- Cuisine: Italian
Ingredients
- 2 (15-ounce) containers full-fat ricotta cheese
- ¾ cup granulated sugar
- 1 teaspoon pure vanilla extract
- 4 large eggs (room temperature)
- 1 (15.25-ounce) box vanilla cake mix
- ½ cup neutral oil (vegetable or canola)
- 1 cup water
- 3 large eggs
Instructions
- Preheat your oven to 350°F (175°C). Grease and flour a 9×13-inch baking dish.
- In a large bowl, combine the ricotta cheese, granulated sugar, vanilla extract, and eggs. Beat until smooth.
- In another bowl, prepare the cake batter as directed on the package using the cake mix, neutral oil, water, and eggs until smooth.
- Pour the cake batter over the ricotta mixture in the baking dish—do not stir.
- Bake for 50–60 minutes until golden brown and a toothpick inserted into the cake comes out clean.
- Allow to cool completely before slicing.
Nutrition
- Serving Size: 1 slice (100g)
- Calories: 290
- Sugar: 20g
- Sodium: 220mg
- Fat: 14g
- Saturated Fat: 4g
- Unsaturated Fat: 10g
- Trans Fat: 0g
- Carbohydrates: 35g
- Fiber: 1g
- Protein: 6g
- Cholesterol: 80mg