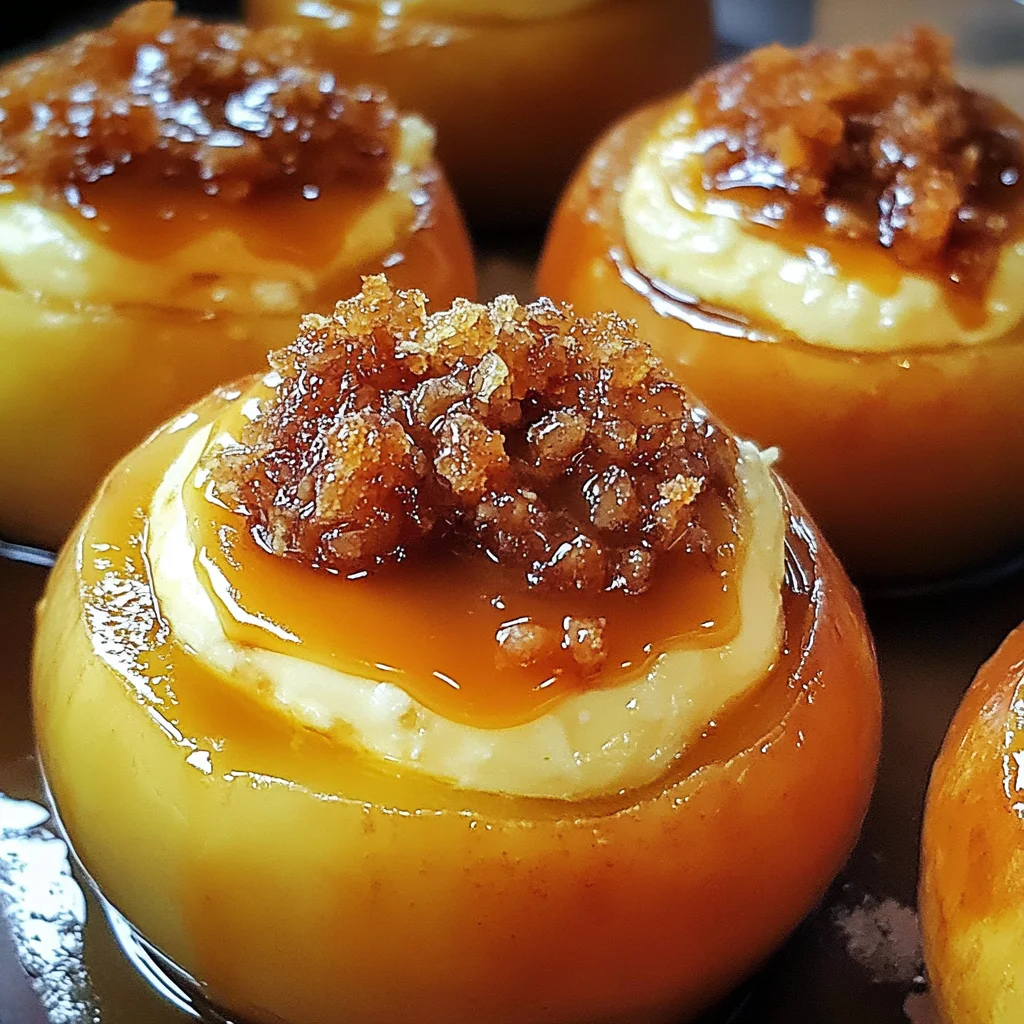
Cheesecake Stuffed Apples: A Delicious Twist on a Classic Dessert
If you’re looking for a delightful dessert that combines the freshness of fruit with the creamy goodness of cheesecake, you’ve come to the right place! These Cheesecake Stuffed Apples: A Delicious Twist on a Classic Dessert are a favorite in my home. They bring together the warm, comforting flavors of baked apples and a rich cheesecake filling that just melts in your mouth. Whether you’re hosting a family gathering or simply treating yourself after a busy week, this recipe is sure to impress.
What I love most about these stuffed apples is how versatile they are. You can whip them up for special occasions or even as a cozy treat on a chilly evening. Trust me, once you try these, they’ll become a go-to in your dessert rotation!
Why You’ll Love This Recipe
- Easy to prepare: With simple steps and straightforward ingredients, you’ll be enjoying this dessert in no time.
- Family-friendly: Everyone loves the combination of sweet apples and creamy cheesecake—perfect for kids and adults alike!
- Make-ahead convenience: Prepare the filling ahead of time and stuff the apples just before baking for hassle-free entertaining.
- Deliciously warm: There’s nothing quite like biting into a warm apple filled with creamy goodness on a cool night.
- Customizable toppings: Drizzle with caramel sauce or sprinkle with nuts—make it your own!
Ingredients You’ll Need
Let’s gather some simple, wholesome ingredients to create these delicious Cheesecake Stuffed Apples. You might already have many of these in your kitchen!
For the Apples
- 4 medium-sized apples (Granny Smith or Honeycrisp)
For the Cheesecake Filling
- 8 oz cream cheese, softened
- 1/2 cup granulated sugar
- 1/4 cup brown sugar
- 1 tsp vanilla extract
- 1/2 tsp ground cinnamon
- 1/4 tsp salt
- 1/2 cup sour cream
- 1/2 cup crushed graham crackers
- 1/4 cup chopped nuts (optional, walnuts or pecans)
For Baking
- 1/4 cup caramel sauce (for drizzling)
- 1 tbsp lemon juice (to prevent browning of apples)
Variations
One of the best things about this recipe is its flexibility! Feel free to get creative with different flavors and toppings.
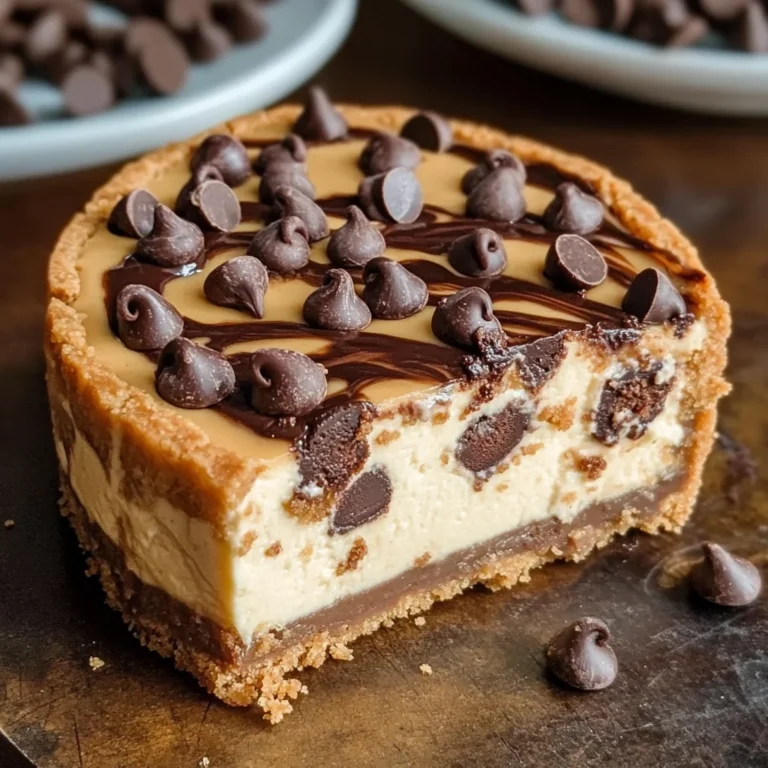
- Add chocolate chips: Mix in some mini chocolate chips for an extra layer of sweetness.
- Use different nuts: Swap out walnuts or pecans for almonds or hazelnuts based on your preference.
- Try flavored cream cheese: Use flavored cream cheese like strawberry or vanilla for an interesting twist.
- Drizzle with chocolate sauce: Instead of caramel, drizzle melted chocolate over the top for a decadent touch.
How to Make Cheesecake Stuffed Apples: A Delicious Twist on a Classic Dessert
Step 1: Preheat Your Oven
Start by preheating your oven to 350°F (175°C). This ensures that your apples bake evenly and to perfection.
Step 2: Prepare the Apples
Wash your apples thoroughly under cold water and pat them dry. Carefully remove the core from each apple while keeping the bottom intact to create a little cavity for that luscious cheesecake filling. Drizzling lemon juice inside will help prevent browning.
Step 3: Make the Cheesecake Filling
In a large mixing bowl, combine softened cream cheese and granulated sugar. Beat on medium speed until smooth and creamy—this should take about 2-3 minutes. The key here is to achieve that velvety texture that makes cheesecakes so irresistible!
Step 4: Add Flavorings
Add brown sugar, vanilla extract, ground cinnamon, and salt to your mixture. Mix well until everything is nicely incorporated. These flavors will enhance the richness of your filling.
Step 5: Incorporate Sour Cream
Now it’s time to add in the sour cream! This ingredient adds tanginess and balances out the sweetness. Mix until fully combined—don’t rush this step; it’s what gives our cheesecake its signature flavor!
Step 6: Fold in Crunchy Goodness
Gently fold in crushed graham crackers and optional chopped nuts using a spatula. This adds texture and those classic cheesecake crust vibes right into your filling.
Step 7: Stuff Those Apples!
Using either a spoon or piping bag, fill each apple with that creamy cheesecake mixture. Pack it gently but firmly—the more filling, the better! Place any leftover filling around them in the baking dish.
Step 8: Bake Them Up
Cover your baking dish with aluminum foil and bake in the preheated oven for about 25-30 minutes until tender but not mushy. Removing the foil in the last few minutes helps brown those tops slightly, making them even more appetizing!
Step 9: Cool & Serve
Once done baking, let your stuffed apples cool for about 10 minutes before serving. Drizzle with caramel sauce and sprinkle with extra cinnamon if desired. For an indulgent treat, serve them warm with a scoop of vanilla ice cream or whipped cream.
Enjoy every bite of these Cheesecake Stuffed Apples—they’re truly comfort food at its finest! If you happen to have leftovers (which I doubt!), let them cool completely before storing them in an airtight container in the refrigerator. Happy baking!
Pro Tips for Making Cheesecake Stuffed Apples: A Delicious Twist on a Classic Dessert
Making these Cheesecake Stuffed Apples is simple and rewarding, especially with a few handy tips to elevate your results!
-
Choose the right apples: Opt for tart varieties like Granny Smith or Honeycrisp. Their natural acidity balances the sweetness of the cheesecake filling and prevents them from becoming overly mushy during baking.
-
Soften your cream cheese properly: Ensure your cream cheese is at room temperature before mixing. This makes it easier to blend smoothly into the filling, resulting in a creamy texture without lumps.
-
Pack the filling tightly: When you fill each apple, pack the cheesecake mixture firmly. This helps prevent it from overflowing during baking and gives you that delightful burst of flavor when you bite into them.
-
Don’t skip the foil: Covering the baking dish with aluminum foil allows the apples to steam slightly while baking, ensuring they cook evenly and stay tender without drying out.
-
Experiment with toppings: Feel free to get creative with your toppings! Adding crushed graham crackers or toasted nuts on top before serving can give an extra crunch and visual appeal to your dessert.
How to Serve Cheesecake Stuffed Apples: A Delicious Twist on a Classic Dessert
Presentation can make all the difference when serving this delightful dessert! Here are some ideas to make your Cheesecake Stuffed Apples shine on any table.
Garnishes
- Cinnamon sprinkle: A light dusting of ground cinnamon adds warmth and enhances the overall flavor of the dish.
- Whipped topping: A dollop of non-dairy whipped topping can add richness and creaminess that complements the cheesecake filling beautifully.
- Fresh mint leaves: Adding a sprig of mint not only provides a pop of color but also offers a refreshing contrast to the sweetness of the apples.
Side Dishes
- Vanilla ice cream: A scoop of vanilla ice cream adds a cool, creamy element that pairs wonderfully with warm stuffed apples.
- Caramel sauce: Serve extra caramel sauce on the side for drizzling. It elevates each bite with additional sweetness and richness.
- Mixed berry salad: Fresh berries tossed in a light syrup offer a burst of freshness that balances out the richness of the cheesecake-filled apples.
- Chai-spiced oatmeal: A warm bowl of chai-spiced oatmeal creates a comforting combination for those cozy fall evenings when you want something sweet yet wholesome alongside your dessert.
With these serving suggestions, you’ll create an experience that’s as delightful as your Cheesecake Stuffed Apples themselves! Enjoy this delicious twist on a classic dessert at your next gathering or cozy night in.
Make Ahead and Storage
These Cheesecake Stuffed Apples are not only a delightful treat but also a fantastic option for meal prep! You can prepare them in advance, making it easier to enjoy this cozy dessert whenever the craving strikes.
Storing Leftovers
- Allow the baked apples to cool completely.
- Place them in an airtight container in the refrigerator.
- Enjoy within 3-4 days for the best flavor and texture.
Freezing
- If you want to freeze your cheesecake stuffed apples, do so before baking.
- Wrap each apple tightly in plastic wrap and place them in a freezer-safe bag or container.
- They can be frozen for up to 2 months. When ready to bake, thaw in the refrigerator overnight before proceeding with the baking instructions.
Reheating
- Preheat your oven to 350°F (175°C).
- Place the stuffed apples on a baking tray lined with parchment paper.
- Cover with aluminum foil to prevent over-browning and reheat for about 15-20 minutes until warmed through.
FAQs
Here are some common questions about making Cheesecake Stuffed Apples!
Can I use other fruits for cheesecake stuffing?
While this recipe focuses on apples, you could experiment with pears or large peaches as alternatives!
How do I make Cheesecake Stuffed Apples: A Delicious Twist on a Classic Dessert gluten-free?
You can easily make this dessert gluten-free by using gluten-free graham cracker crumbs. Just ensure all other ingredients are certified gluten-free as well.
What is the best way to serve Cheesecake Stuffed Apples?
These stuffed apples shine when served warm with a drizzle of caramel sauce and a scoop of vanilla ice cream or a dollop of whipped cream.
Can I add other flavors to the cheesecake filling?
Absolutely! Feel free to add lemon zest, chocolate chips, or even different spices like nutmeg or ginger for a unique twist.
Final Thoughts
I hope you find joy in creating these Cheesecake Stuffed Apples at home! They bring together the comforting flavors of cheesecake and baked fruit, making for such a special dessert. Whether you’re serving them at a gathering or enjoying them on your own, they’re sure to warm your heart. Happy baking!
Cheesecake Stuffed Apples: A Delicious Twist on a Classic Dessert

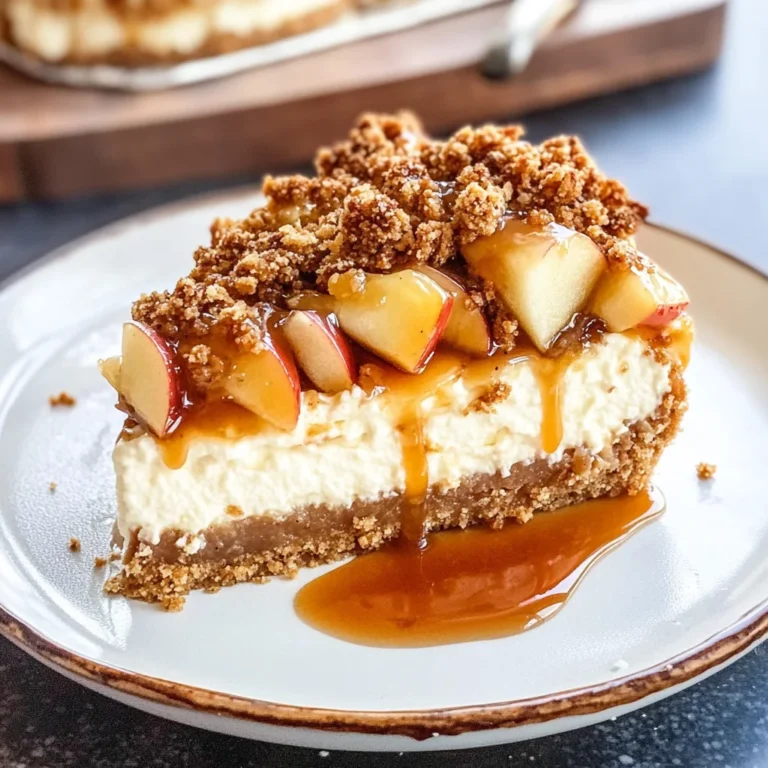
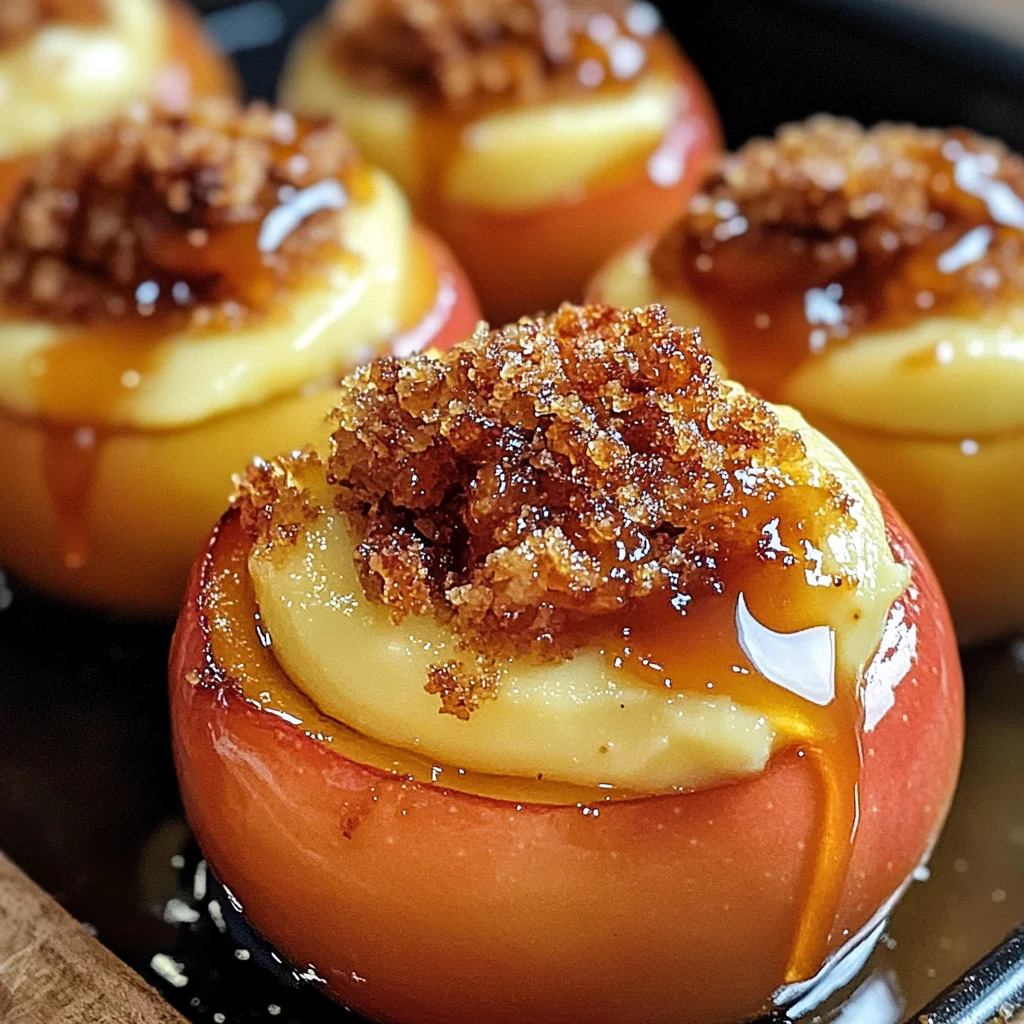
Indulge in the delightful combination of warm, tender apples and a creamy cheesecake filling with these Cheesecake Stuffed Apples: A Delicious Twist on a Classic Dessert. This comforting treat is perfect for cozy evenings or special gatherings, offering a burst of flavor in every bite. The sweet, baked apples are filled with a rich cheesecake mixture and topped with caramel sauce, making them not only delicious but also visually appealing. Easy to prepare and customizable with various toppings, they are sure to become a family favorite. Enjoy the joy of homemade desserts that bring warmth and happiness to any occasion.
- Prep Time: 20 minutes
- Cook Time: 30 minutes
- Total Time: 50 minutes
- Yield: Makes 4 servings 1x
- Category: Dessert
- Method: Baking
- Cuisine: American
Ingredients
- 4 medium-sized apples (Granny Smith or Honeycrisp)
- 8 oz cream cheese, softened
- 1/2 cup granulated sugar
- 1/4 cup brown sugar
- 1 tsp vanilla extract
- 1/2 tsp ground cinnamon
- 1/2 cup sour cream
- 1/2 cup crushed graham crackers
- 1 tbsp lemon juice
Instructions
- Preheat your oven to 350°F (175°C).
- Wash and dry the apples, then carefully remove the core while keeping the bottom intact. Drizzle lemon juice inside to prevent browning.
- In a large mixing bowl, beat softened cream cheese and granulated sugar until smooth. Add brown sugar, vanilla extract, cinnamon, and salt; mix well.
- Incorporate sour cream until fully combined, then fold in crushed graham crackers.
- Fill each apple with the cheesecake mixture and place any leftover filling around them in a baking dish.
- Cover with aluminum foil and bake for 25-30 minutes until tender. Remove foil in the last few minutes to allow tops to brown slightly.
- Let cool for 10 minutes before serving; drizzle with caramel sauce if desired.
Nutrition
- Serving Size: 1 stuffed apple (approximately 200g)
- Calories: 360
- Sugar: 36g
- Sodium: 210mg
- Fat: 16g
- Saturated Fat: 9g
- Unsaturated Fat: 6g
- Trans Fat: 0g
- Carbohydrates: 52g
- Fiber: 4g
- Protein: 5g
- Cholesterol: 40mg