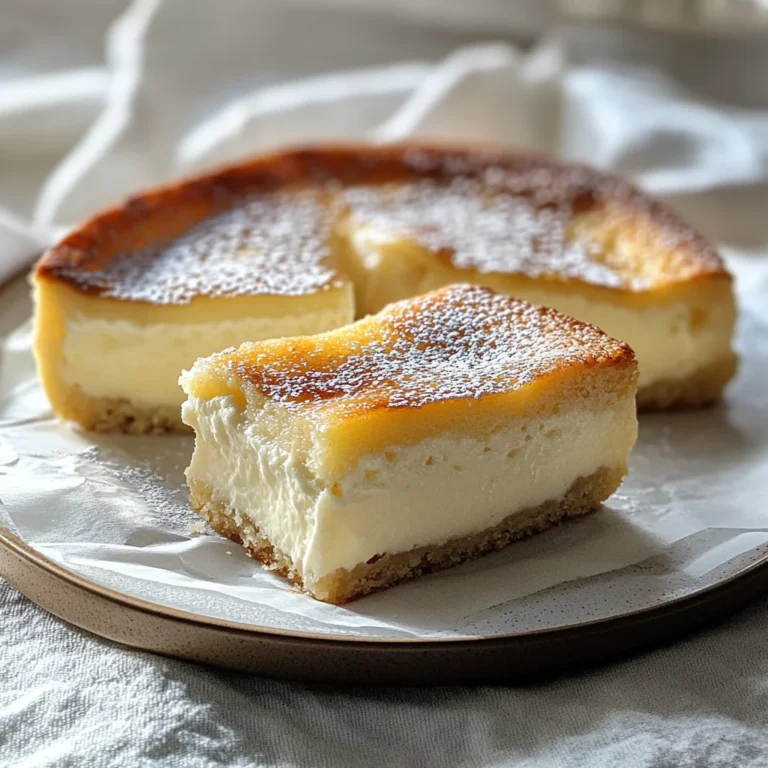
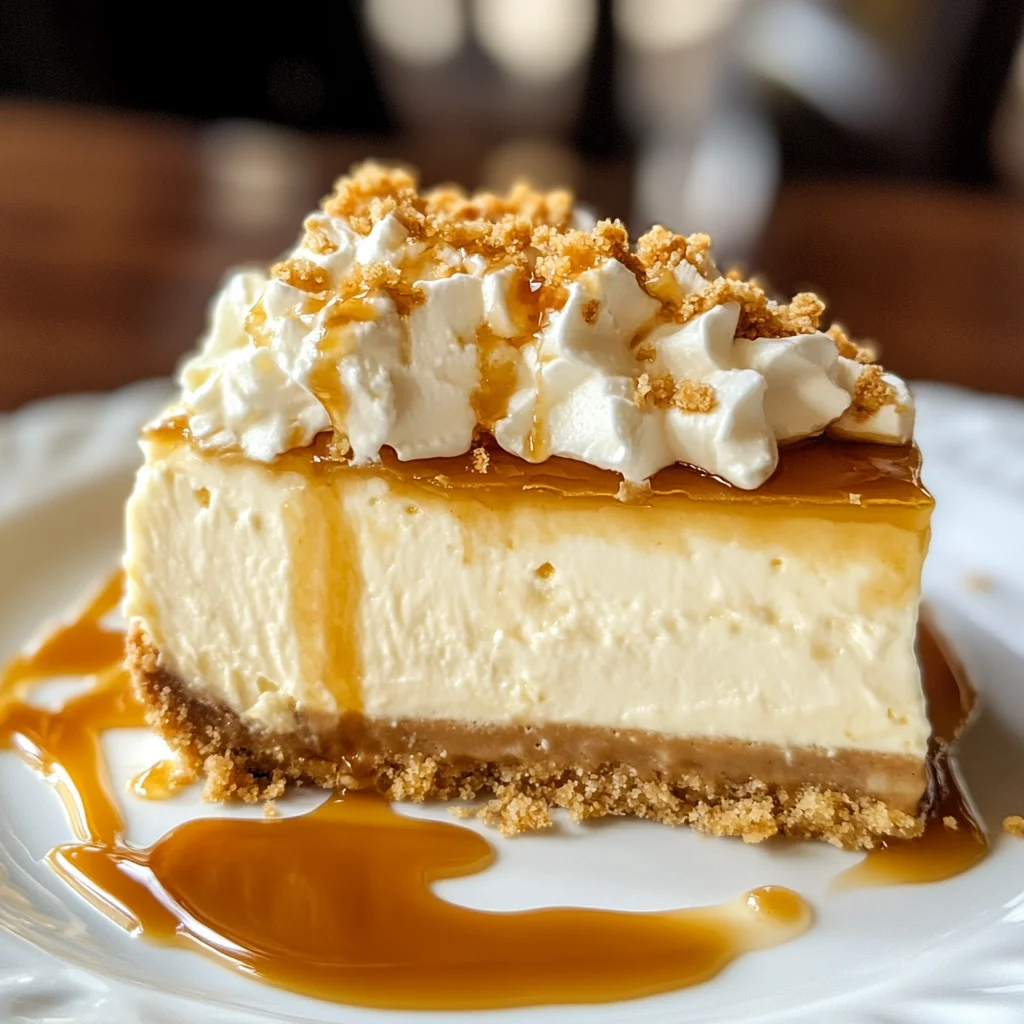
Butterbeer cheesecake
If you’re looking for a dessert that’s sure to impress, our Butterbeer cheesecake is just the ticket! This delightful treat combines the nostalgic flavors of butterscotch and cream soda to create a creamy, dreamy cheesecake that feels like a warm hug. It’s perfect for family gatherings, movie nights, or any time you want to add a sprinkle of magic to your day. Each bite is like stepping into a whimsical world where sweet dreams come true!
Trust me, once you try this Butterbeer cheesecake, it will become a favorite in your home. Whether you’re celebrating a special occasion or just indulging yourself after a long week, this recipe is here to bring joy and smiles all around.
Why You’ll Love This Recipe
- Easy to Make: With simple steps and straightforward ingredients, you’ll find this recipe a breeze!
- Family-Friendly: Kids and adults alike will be enchanted by the delicious butterscotch flavors.
- Make-Ahead Option: Prepare this cheesecake in advance! It gets better as it chills.
- Decadent Flavor: The combination of cream cheese and butterscotch creates an irresistible richness.
- Perfect for Any Occasion: Whether it’s a holiday feast or a casual weeknight treat, it fits right in.

Ingredients You’ll Need
These are simple, wholesome ingredients that come together beautifully to create your Butterbeer cheesecake. Gather them up, and let’s get started on this magical journey!
For the Crust:
- 2 cups graham cracker crumbs
- 1/4 cup granulated sugar
- 1/2 cup unsalted butter, melted
For the Cheesecake Filling:
- 4 (8 oz.) packages cream cheese, softened
- 1/2 cup sour cream
- 3 large eggs
- 2 cups granulated sugar
- 1/2 tablespoon vanilla extract
- 1/2 tablespoon butter flavoring
- 1/2 cup butterscotch sauce
- 1/2 cup butterscotch chips
- 1/4 cup cream soda
For Topping:
- 8 oz. tub of cool whip
Variations
This Butterbeer cheesecake recipe is quite flexible! You can easily make adjustments based on your preferences or what you have on hand. Here are some fun ideas:
- Add Nuts: Sprinkle some chopped pecans or walnuts into the crust for extra crunch.
- Experiment with Flavors: Swap out butterscotch sauce for caramel sauce for a different twist.
- Make It Chocolatey: Mix in some chocolate chips with the butterscotch chips for double deliciousness.
- Use Different Creamers: Instead of cream soda, try using a flavored soda pop like vanilla or root beer.
How to Make Butterbeer cheesecake
Step 1: Preheat the Oven
First things first—preheat your oven to 325°F (160°C). This ensures that your cheesecake bakes evenly and sets perfectly.
Step 2: Prepare the Crust
In a mixing bowl, combine the graham cracker crumbs, 1/4 cup of sugar, and melted butter until well mixed. Press this mixture evenly into the bottom of an 8-inch springform pan. A solid crust will give your cheesecake great structure!
Step 3: Make the Cream Cheese Mixture
In a large mixing bowl, beat the cream cheese until smooth using an electric mixer. It’s essential to start with softened cream cheese; this prevents lumps and gives you that creamy texture we all love.
Step 4: Add Sour Cream
Next, add in the sour cream and continue beating until well combined. The sour cream adds tanginess that balances out the sweetness beautifully.
Step 5: Incorporate Sugar
Gradually add in the sugar while beating. This step helps ensure everything blends well and creates that rich flavor profile we’re aiming for.
Step 6: Beat in Eggs
Now it’s time to beat in the eggs one at a time. Mixing them thoroughly with each addition ensures they incorporate fully without overmixing—this keeps your cheesecake light and fluffy.
Step 7: Flavor It Up
Stir in the vanilla extract and butter flavoring until smooth and creamy. These flavors are what truly make this Butterbeer cheesecake sing!
Step 8: Add Butterscotch Goodness
Mix in butterscotch sauce, cream soda, and butterscotch chips until everything is well blended. This is where the magic happens—the flavors come together like they were always meant to be!
Step 9: Pour into Crust
Carefully pour the cream cheese mixture over your graham cracker crust in the springform pan. Use a spatula to smooth out the top so it looks beautiful when baked.
Step 10: Bake
Place your cheesecake in the preheated oven with a pan of water below it (this helps keep moisture in). Bake for about 60 minutes until edges are set but center is slightly jiggly—it’ll firm up as it cools!
Step 11: Cool Gradually
Turn off your oven and leave the cheesecake inside with the door slightly ajar for about an hour. This gradual cooling helps prevent cracks on top—nobody wants that!
Step 12: Refrigerate
Once cooled, remove from oven and refrigerate for at least four hours (or overnight) so it sets completely. Patience pays off here.
Step 13: Top It Off
When you’re ready to serve your masterpiece, top it with cool whip! Pipe swirls around the edge or fill up the center—it’s all about presentation here.
Enjoy each magical slice of your Butterbeer cheesecake!
Pro Tips for Making Butterbeer Cheesecake
Creating the perfect Butterbeer cheesecake is all about attention to detail and a little bit of magic in your kitchen. Here are some pro tips to ensure your cheesecake turns out deliciously creamy and irresistibly flavorful!
-
Use room temperature ingredients: Allowing your cream cheese and eggs to come to room temperature helps them blend smoothly, resulting in a creamy texture without lumps.
-
Don’t skip the water bath: Baking the cheesecake in a water bath helps regulate the temperature, preventing cracks and ensuring even cooking throughout.
-
Cool gradually: Leaving the cheesecake in the oven with the door ajar after baking allows it to cool slowly, which helps set the center perfectly without creating cracks.
-
Chill overnight: For the best flavor and texture, refrigerate your cheesecake overnight. This allows all those rich butterscotch flavors to meld beautifully.
-
Experiment with toppings: Feel free to get creative with toppings! Adding additional butterscotch chips or even caramel drizzle can elevate this dessert even further.
How to Serve Butterbeer Cheesecake
When it comes to serving your delightful Butterbeer cheesecake, presentation can make all the difference! Here are some fun ideas on how to make your dessert shine at any gathering.
Garnishes
- Whipped cream: A generous dollop of whipped cream adds a light, airy contrast to the rich cheesecake.
- Butterscotch drizzle: Drizzling extra butterscotch sauce on top not only enhances flavor but also creates an appealing visual.
- Chocolate shavings: For a touch of elegance, sprinkle some chocolate shavings or curls on top for added texture and flavor.
Side Dishes
- Fresh fruit: Slices of strawberries or raspberries offer a refreshing contrast that balances the sweetness of the cheesecake.
- Coffee or tea: Serving a warm cup of coffee or tea alongside can complement the flavors beautifully while providing a comforting experience.
- Ice cream: A scoop of vanilla or butterscotch ice cream creates a delightful contrast of temperatures and textures.
- Cookies: A side of buttery shortbread cookies can add a crunchy element that pairs perfectly with this creamy dessert.
Now that you have everything you need for your Butterbeer cheesecake adventure, get ready to enjoy every magical bite! Happy baking!
Make Ahead and Storage
This Butterbeer cheesecake is an excellent choice for meal prep or special occasions. It stores beautifully in the fridge and can even be frozen for later enjoyment!
Storing Leftovers
- Store any leftover cheesecake in an airtight container in the refrigerator.
- It will stay fresh for up to 5 days.
- If you want to keep it longer, consider freezing portions instead.
Freezing
- To freeze, wrap the cheesecake tightly in plastic wrap, then place it in a freezer-safe container or bag.
- It can be frozen for up to 3 months.
- Thaw it overnight in the refrigerator before serving.
Reheating
- For best results, serve the cheesecake cold or at room temperature.
- If you prefer it slightly warmed, let it sit at room temperature for about 30 minutes before serving.
- Avoid using a microwave, as this can affect the texture of the cheesecake.
FAQs
Here are some common questions about making and enjoying Butterbeer cheesecake.
Can I use a different type of crust for Butterbeer cheesecake?
Absolutely! While graham cracker crust is traditional, you can experiment with other options like Oreo cookies or even a nut-based crust for a gluten-free version.
How do I get the perfect texture for my Butterbeer cheesecake?
To achieve that creamy texture, ensure all your ingredients are at room temperature before mixing. Avoid over-beating once you add the eggs; just mix until incorporated.
Can I make Butterbeer cheesecake without cream cheese?
While cream cheese gives this dessert its signature flavor and texture, you could try using a vegan cream cheese alternative if you’d like to avoid dairy altogether.
How long does Butterbeer cheesecake need to set?
For optimal results, refrigerate your cheesecake for at least 4 hours, but overnight is best to allow all the flavors to meld beautifully.
Is Butterbeer cheesecake suitable for special diets?
This recipe is free from pork and alcohol and uses dairy ingredients like cream cheese and sour cream. For those with dietary concerns, consider using dairy-free substitutes where applicable.
Final Thoughts
I hope you’re as excited as I am about making this delightful Butterbeer cheesecake! It’s not just a treat; it’s a little slice of magic that brings joy with every bite. Whether you’re sharing it with friends or enjoying a quiet moment alone, this cheesecake is sure to enchant your taste buds. Happy baking, and may your kitchen be filled with warmth and sweetness!
Butterbeer Cheesecake
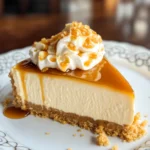
Indulge in a slice of enchantment with this delightful Butterbeer cheesecake! This creamy dessert beautifully harmonizes the nostalgic flavors of butterscotch and cream soda, making every bite feel like a warm hug. Perfect for family gatherings or cozy evenings, this cheesecake is not only easy to make but also a fantastic make-ahead option that becomes even more delicious as it chills. Whether celebrating a special occasion or treating yourself after a long week, this whimsical treat is sure to bring joy to your table.
- Prep Time: 30 minutes
- Cook Time: 60 minutes
- Total Time: 1 hour 30 minutes
- Yield: Serves approximately 12 slices 1x
- Category: Dessert
- Method: Baking
- Cuisine: American
Ingredients
- 2 cups graham cracker crumbs
- 1/4 cup granulated sugar
- 1/2 cup unsalted butter, melted
- 4 (8 oz.) packages cream cheese, softened
- 1/2 cup sour cream
- 3 large eggs
- 2 cups granulated sugar
- 1/2 tablespoon vanilla extract
- 1/2 tablespoon butter flavoring
- 1/2 cup butterscotch sauce
- 1/4 cup cream soda
Instructions
- Preheat the oven to 325°F (160°C).
- Combine graham cracker crumbs, sugar, and melted butter in a bowl; press into the bottom of an 8-inch springform pan.
- In a mixing bowl, beat softened cream cheese until smooth. Add sour cream and mix well.
- Gradually add sugar while mixing, then incorporate eggs one at a time.
- Stir in vanilla extract, butter flavoring, butterscotch sauce, and cream soda until blended.
- Pour the filling into the crust and smooth the top. Bake for about 60 minutes until edges are set.
- Cool gradually in the oven with the door ajar for one hour before refrigerating for at least four hours.
- Top with whipped topping before serving.
Nutrition
- Serving Size: 1 slice
- Calories: 430
- Sugar: 34g
- Sodium: 400mg
- Fat: 28g
- Saturated Fat: 16g
- Unsaturated Fat: 10g
- Trans Fat: 0g
- Carbohydrates: 42g
- Fiber: 1g
- Protein: 6g
- Cholesterol: 90mg