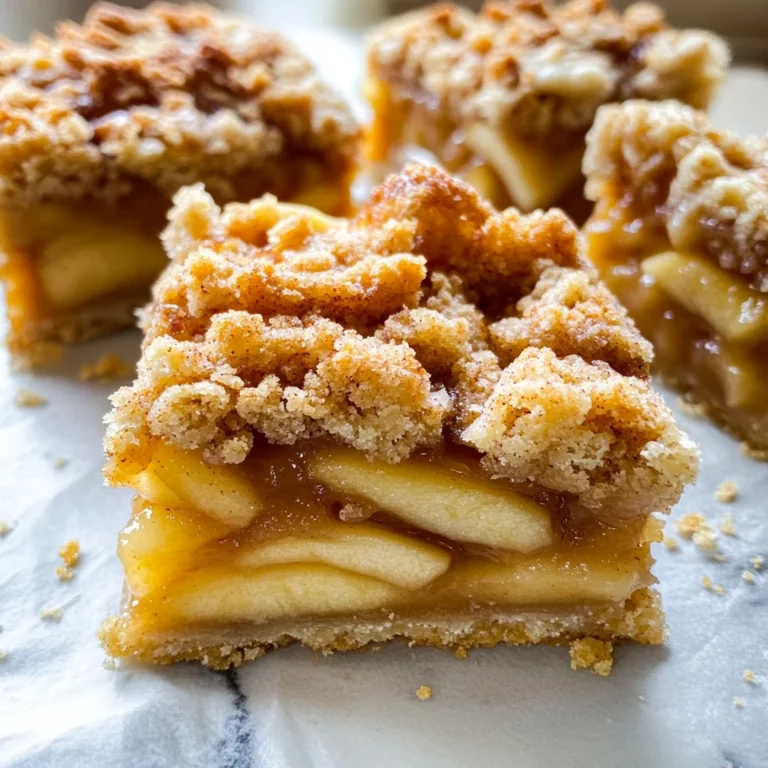
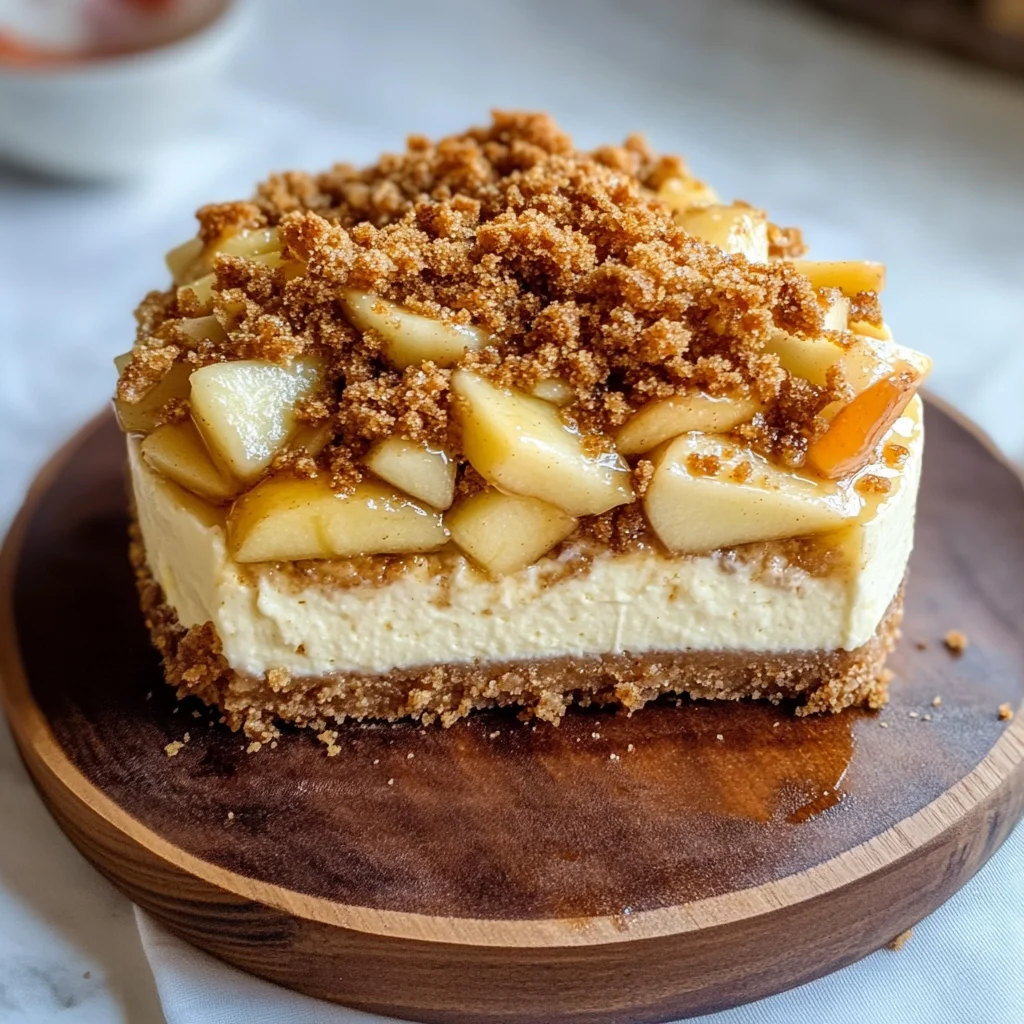
Apple Crumble Cheesecake
If you’re looking for a dessert that feels like a warm hug on a plate, this Apple Crumble Cheesecake is just the ticket! It beautifully combines creamy cheesecake with the comforting flavors of spiced apples and a delightful streusel topping. This recipe has been a favorite in my house for years. Whether it’s for a family gathering, a cozy dinner with friends, or simply to satisfy your sweet tooth after a long day, this cheesecake will surely bring smiles all around.
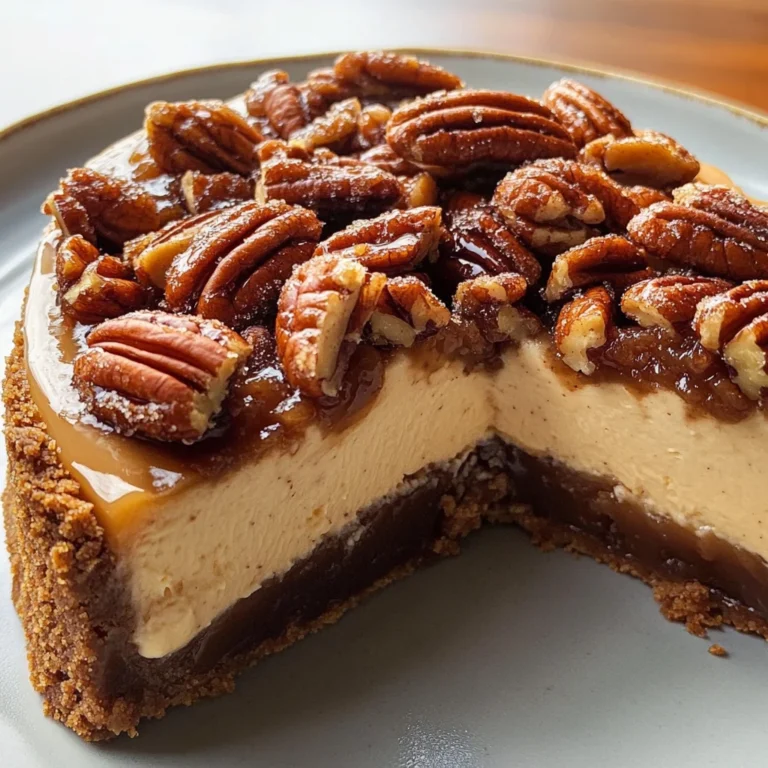
The combination of the crunchy biscoff crust and the velvety cream cheese filling makes every bite irresistible. Plus, it’s surprisingly easy to make, which means you can whip it up even on busy weeknights!
Why You’ll Love This Recipe
- Delicious Layers: Each slice offers a perfect blend of creamy cheesecake and spiced apples topped with buttery crumble.
- Easy to Make: With straightforward steps and simple ingredients, you’ll feel like a pro in the kitchen!
- Family Favorite: Kids and adults alike will love this delightful twist on classic apple dessert flavors.
- Make Ahead: This dessert is perfect for prepping in advance. Just refrigerate it until you’re ready to serve!
- Perfect for Any Occasion: Whether it’s a holiday feast or a casual get-together, this cheesecake fits right in.
Ingredients You’ll Need
Let’s gather some simple, wholesome ingredients to create this mouthwatering Apple Crumble Cheesecake. You might already have many of these staples in your pantry!
For the Crust
- 350 g Lotus biscoff cookies
- 150 g unsalted butter (melted)
For the Streusel Topping
- 55 g unsalted butter (melted)
- 50 g all-purpose flour
- 50 g brown sugar
- 20 g rolled oats
For the Apples
- 3 tart apples (peeled, cored, and sliced into 1/8 thick slices)
- 50 g brown sugar
- 1 teaspoon ground cinnamon
- 2 teaspoons cornstarch
For the Cheesecake Filling
- 690 g cream cheese (softened to room temperature)
- 75 g granulated sugar
- 100 g Greek yogurt
- 2 teaspoons vanilla extract
- 1/2 teaspoon ground cinnamon
- 1/4 teaspoon ground ginger
- 1/4 teaspoon ground nutmeg
- 3 large eggs (room temperature)
Variations
This Apple Crumble Cheesecake recipe is quite flexible! Feel free to mix things up based on your preferences or what you have at home.
- Add Nuts: Sprinkle some chopped pecans or walnuts into the streusel for an extra crunch.
- Use Different Fruits: Swap out the tart apples for pears or peaches for a unique flavor twist.
- Make it Gluten-Free: Use gluten-free cookies for the crust and substitute gluten-free flour in the streusel.
- Spice it Up: Experiment with different spices like cardamom or allspice to give your cheesecake an exciting new flavor profile.
How to Make Apple Crumble Cheesecake
Step 1: Prepare the Crust
Start by crushing the biscoff cookies into fine crumbs. This creates that lovely base for our cheesecake. Mix these crumbs with melted butter until well combined. Press this mixture firmly into the bottom of your springform pan. It’s important to pack it tightly so that your crust holds together when you slice into it!
Step 2: Make the Streusel Topping
In another bowl, combine melted butter with flour, brown sugar, and oats. Mix until crumbly. This streusel topping adds texture and sweetness that complements the creamy filling perfectly. Set it aside while we prepare our apples.
Step 3: Sauté the Apples
In a skillet over medium heat, toss the sliced apples with brown sugar and cinnamon. Cook them just until they start to soften—this enhances their natural sweetness and infuses them with flavor. Once done, sprinkle some cornstarch over them; this will help thicken any juices as they bake.
Step 4: Prepare the Cheesecake Filling
In a large mixing bowl, beat softened cream cheese and granulated sugar until smooth. Adding Greek yogurt makes it wonderfully creamy! Then mix in vanilla extract along with spices like cinnamon, ginger, and nutmeg. Finally, add eggs one at a time while mixing gently; this helps keep our filling light and fluffy!
Step 5: Assemble Everything
Pour half of your cheesecake batter over the prepared crust. Layer on those delicious sautéed apples evenly across the surface before adding the remaining batter on top. This layering ensures each bite is packed full of flavor!
Step 6: Top with Streusel & Bake
Sprinkle your prepared streusel evenly over the top of your cheesecake layer—this creates that signature crumble we all adore! Bake in a preheated oven until set but still slightly wobbly in the center; this ensures it will be creamy once cooled.
Step 7: Chill & Serve
Once baked, allow your cheesecake to cool completely before refrigerating for several hours or overnight if possible. Chilling helps develop those rich flavors further! When ready to serve, slice and enjoy this fantastic Apple Crumble Cheesecake as an unforgettable dessert!
Pro Tips for Making Apple Crumble Cheesecake
Creating the perfect apple crumble cheesecake can be a delightful adventure, and these tips will help you achieve just that!
-
Use room temperature ingredients: Allow your cream cheese and eggs to sit out for about 30 minutes before mixing. This ensures a smooth batter without lumps, resulting in a creamy cheesecake.
-
Choose the right apples: Opt for tart apples like Granny Smith or Honeycrisp. Their tangy flavor balances the sweetness of the cheesecake and crumble, giving your dessert a delicious depth.
-
Don’t skip the chilling step: After baking, let your cheesecake cool at room temperature before refrigerating it. This helps set the flavors and allows the cheesecake to firm up nicely for easier slicing.
-
Adjust the sweetness: Feel free to modify the amount of sugar based on your preference or the tartness of your apples. Tasting as you go ensures a perfectly balanced dessert that suits your palate.
-
Cover while baking: If you notice that the top is browning too quickly during baking, cover it loosely with aluminum foil. This prevents over-baking while allowing the cheesecake to cook through evenly.
How to Serve Apple Crumble Cheesecake
Serving your apple crumble cheesecake beautifully can elevate any gathering. Here are some ideas to make it look as good as it tastes!
Garnishes
- Fresh whipped cream: A dollop of freshly whipped cream adds lightness and a touch of elegance to each slice.
- Caramel drizzle: A warm caramel sauce drizzled on top enhances sweetness and brings an inviting visual appeal.
- Cinnamon sprinkle: A light dusting of cinnamon on top not only looks attractive but also complements the flavors beautifully.
Side Dishes
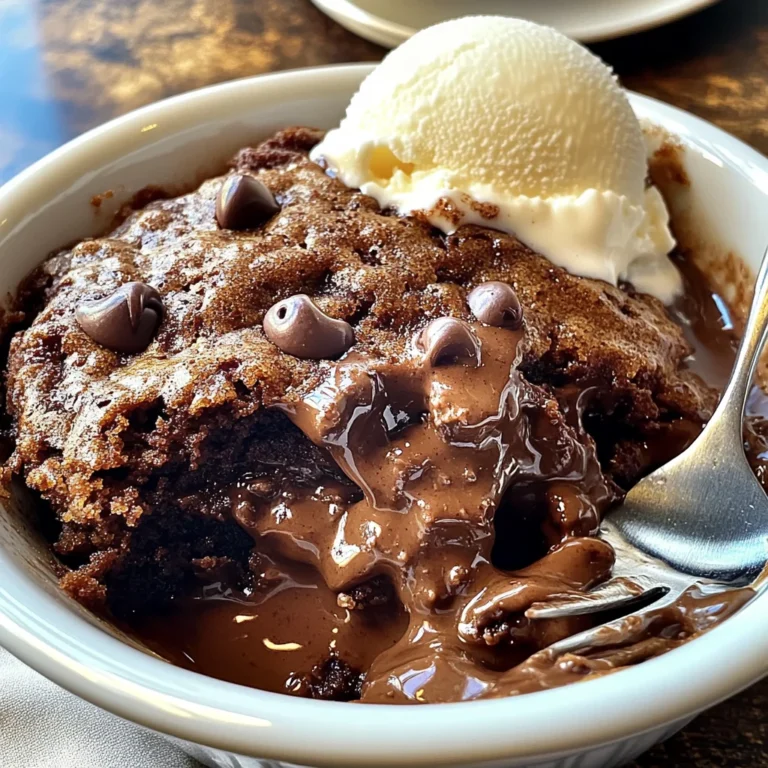
- Vanilla ice cream: A scoop of creamy vanilla ice cream contrasts wonderfully with the warm spices in the cheesecake, creating a delightful harmony.
- Fruit salad: A refreshing fruit salad made with berries and citrus provides a bright, zesty balance to the rich flavors of the cheesecake.
- Coffee or tea: Serving coffee or tea alongside offers a comforting pairing that rounds out your dessert experience. The warmth from these beverages accentuates the apple flavors beautifully.
- Cheese platter: For those who enjoy savory bites, a small cheese platter with mild cheeses can provide an interesting contrast to dessert.
Now that you’re equipped with these serving suggestions and pro tips, it’s time to bake your delicious apple crumble cheesecake and share it with friends and family! Enjoy every bite!

Make Ahead and Storage
This Apple Crumble Cheesecake is perfect for meal prep, allowing you to enjoy this delicious dessert over several days or to serve at a gathering without the last-minute rush.
Storing Leftovers
- After cooling completely, cover the cheesecake tightly with plastic wrap or foil.
- Store it in the refrigerator for up to 5 days.
- If possible, keep the crumble topping separate until serving to maintain its crunchiness.
Freezing
- To freeze, make sure the cheesecake is fully cooled and wrapped tightly in plastic wrap.
- Place it in an airtight container or a freezer bag to prevent freezer burn.
- It can be frozen for up to 2 months. Thaw it in the refrigerator overnight before serving.
Reheating
- For best results, reheat individual slices in the microwave for about 20-30 seconds.
- Alternatively, you can place a slice in a preheated oven at 350°F (175°C) for about 10 minutes until warmed through.
- If reheating from frozen, allow it to thaw overnight before warming.
FAQs
Here are some common questions about this delightful dessert!
Can I use different types of apples for the Apple Crumble Cheesecake?
Yes! While tart apples work best, you can mix sweet and tart varieties like Granny Smith and Honeycrisp for added flavor complexity.
How do I store my Apple Crumble Cheesecake?
Store your cheesecake in an airtight container in the refrigerator for up to 5 days. For longer storage, consider freezing it.
Can I make this Apple Crumble Cheesecake without eggs?
Absolutely! You can replace each egg with a flaxseed meal (1 tablespoon flaxseed meal + 2.5 tablespoons water per egg), or use unsweetened applesauce as an alternative.
What can I serve with my Apple Crumble Cheesecake?
This cheesecake pairs wonderfully with whipped coconut cream or a scoop of dairy-free vanilla ice cream. Fresh fruit on top adds a lovely finish too!
Final Thoughts
I hope you find joy in creating this Apple Crumble Cheesecake! It’s not just a dessert; it’s a cozy experience filled with warm spices and comforting flavors. Whether you’re treating yourself or sharing with loved ones, this recipe brings happiness to every bite. Enjoy making it, and don’t forget to share your experience—I’d love to hear how it turns out for you!
Apple Crumble Cheesecake
Indulge in the warm flavors of our Apple Crumble Cheesecake, where creamy cheesecake meets spiced apples and a buttery crumble topping. This delightful dessert is perfectly suited for family gatherings or cozy nights in, bringing smiles to everyone’s faces. With its easy-to-follow recipe, you can whip up this comforting treat even on busy weeknights. The crunchy biscoff crust and velvety cream cheese filling create a deliciously irresistible experience that will leave your loved ones asking for seconds. Enjoy every bite of this sweet, spiced masterpiece!
- Prep Time: 30 minutes
- Cook Time: 60 minutes
- Total Time: 1 hour 30 minutes
- Yield: Serves approximately 10 slices 1x
- Category: Dessert
- Method: Baking
- Cuisine: American
Ingredients
- 350 g Lotus biscoff cookies
- 150 g unsalted butter (melted)
- 55 g unsalted butter (melted) for streusel
- 50 g all-purpose flour
- 50 g brown sugar
- 20 g rolled oats
- 3 tart apples (peeled, cored, sliced)
- 50 g brown sugar for apples
- 1 teaspoon ground cinnamon
- 2 teaspoons cornstarch
- 690 g cream cheese (softened)
- 75 g granulated sugar
- 100 g Greek yogurt
- 2 teaspoons vanilla extract
- Spices: ground cinnamon, ginger, nutmeg
- 3 large eggs (room temperature)
Instructions
- Crush biscoff cookies into fine crumbs and mix with melted butter. Press firmly into the bottom of a springform pan.
- Combine melted butter, flour, brown sugar, and oats in a bowl to form streusel topping; set aside.
- Sauté sliced apples with brown sugar and cinnamon until softened; sprinkle with cornstarch.
- In a mixing bowl, beat cream cheese and granulated sugar until smooth. Mix in Greek yogurt, vanilla extract, spices, and eggs one at a time.
- Pour half of the cheesecake batter over the crust; layer sautéed apples on top, then add remaining batter.
- Sprinkle streusel topping evenly over the cheesecake layer and bake until set but slightly wobbly in center.
- Cool completely before refrigerating for several hours or overnight.
Nutrition
- Serving Size: 1 serving
- Calories: 380
- Sugar: 28g
- Sodium: 290mg
- Fat: 24g
- Saturated Fat: 13g
- Unsaturated Fat: 9g
- Trans Fat: 0g
- Carbohydrates: 38g
- Fiber: 2g
- Protein: 6g
- Cholesterol: 90mg