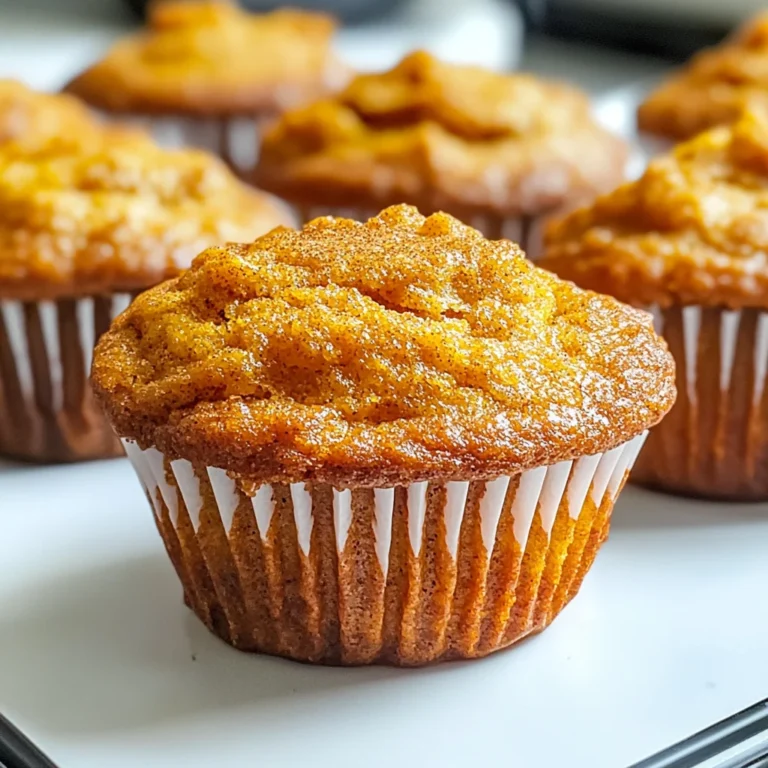
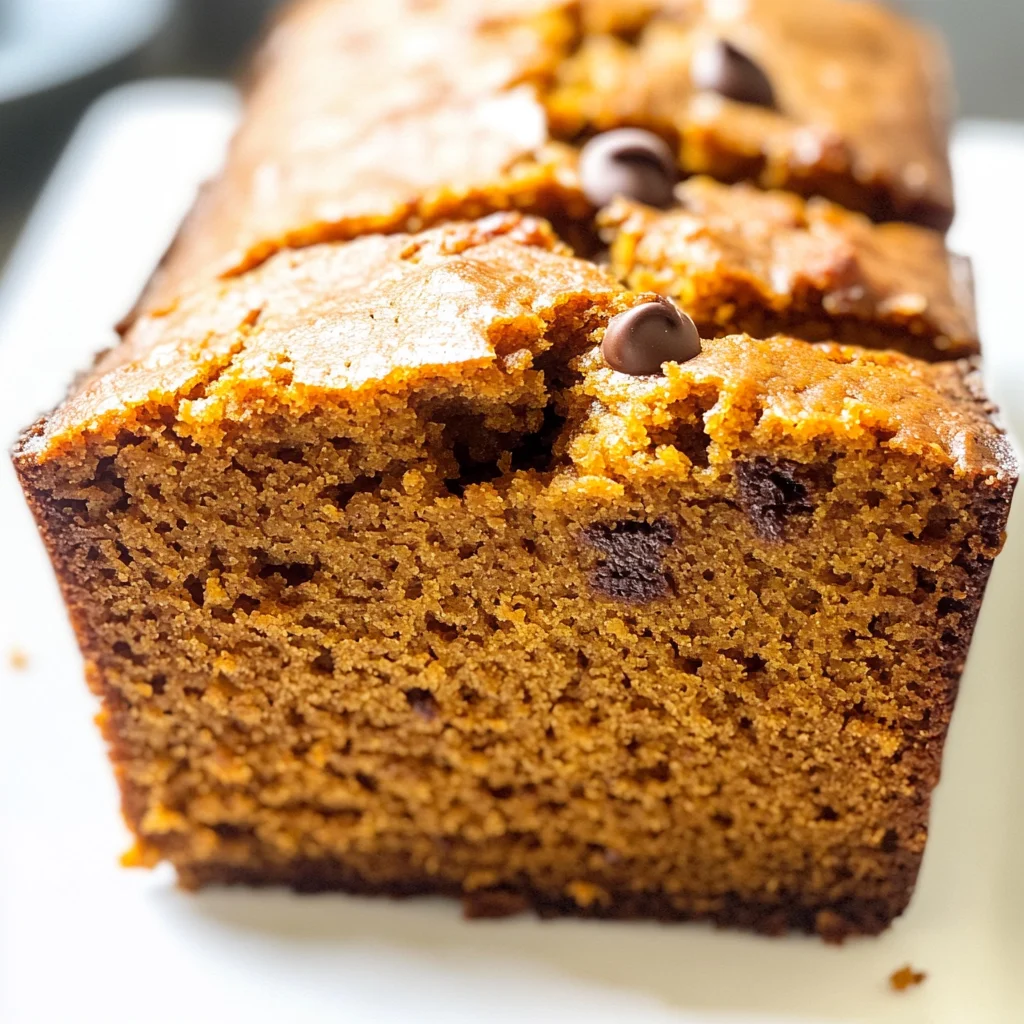
Gluten-Free Pumpkin Bread
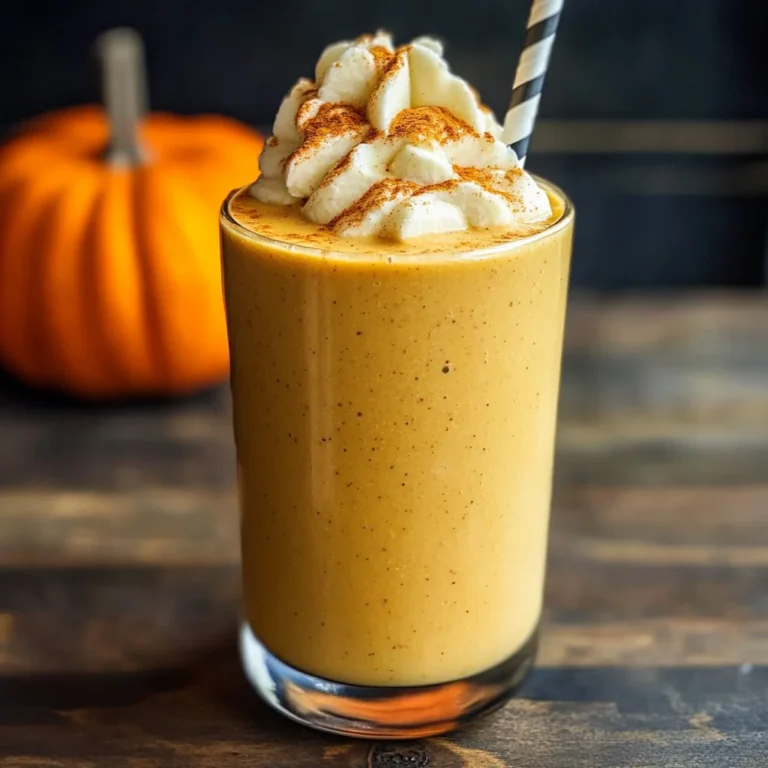
If you’re looking for a cozy, heartwarming treat to enjoy this fall, you’ve come to the right place! This Gluten-Free Pumpkin Bread is a family favorite in my home. The moment the aroma of cinnamon, nutmeg, and cloves fills the kitchen, it feels like a warm hug on a chilly day. It’s perfect for busy weeknights or family gatherings, and trust me when I say it disappears faster than you can blink!
This recipe is not just delicious; it’s also easy to make and uses simple ingredients that you probably already have in your pantry. Whether you’re enjoying it with your morning coffee or serving it as an afternoon snack, this bread is bound to bring smiles all around.
Why You’ll Love This Recipe
- Quick and Easy: With just 10 minutes of prep time, you can whip this up in no time!
- Deliciously Spiced: The blend of spices makes every slice flavorful and inviting.
- Family-Friendly: Kids love the sweetness of pumpkin bread; it’s a great way to sneak in some nutrients!
- Make-Ahead Convenience: This bread freezes well, so you can always have a slice ready for unexpected guests.
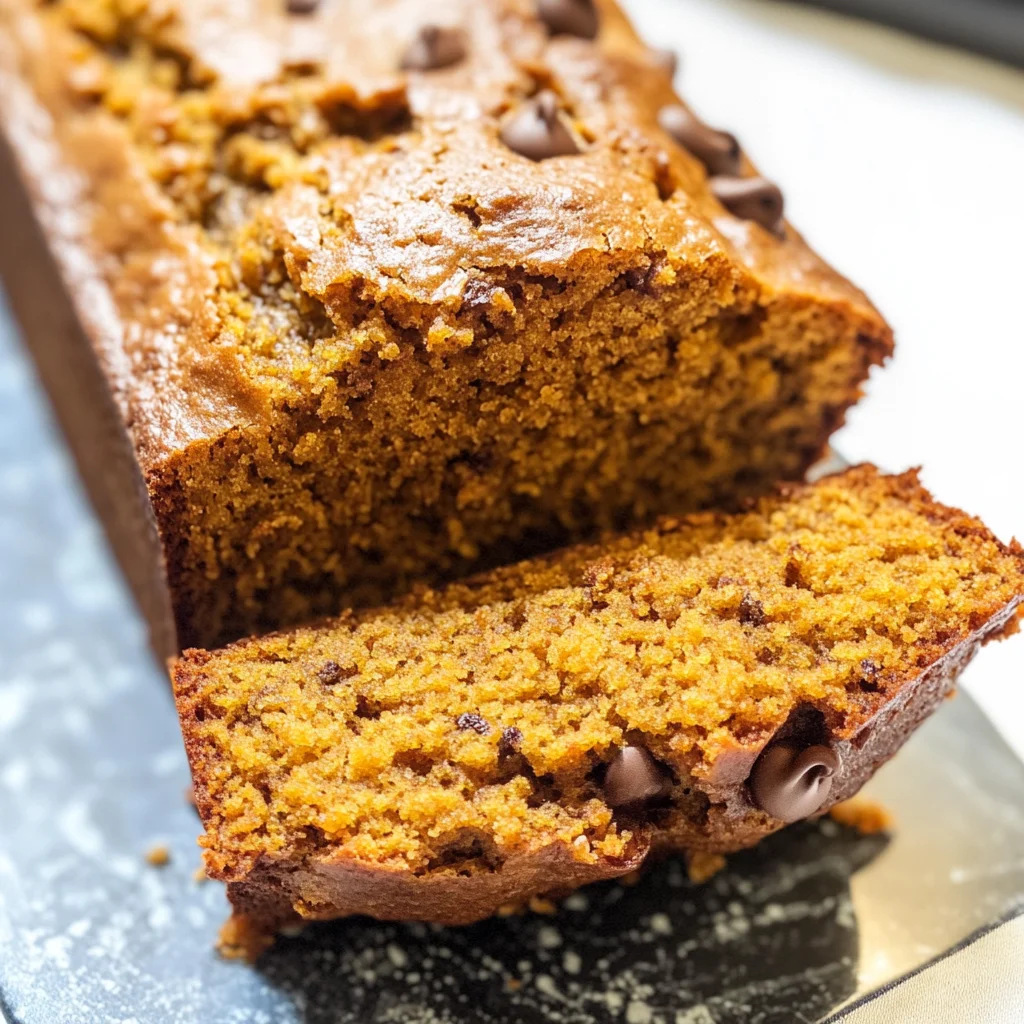
- Customizable: Add-ins like chocolate chips allow you to make it your own!
Ingredients You’ll Need
Gathering your ingredients for this Gluten-Free Pumpkin Bread is part of the fun! These are simple, wholesome ingredients that come together beautifully. Here’s what you’ll need:
Dry Ingredients
- 3 1/2 cups gluten-free flour (I use Bob’s Red Mill 1-to-1 gluten free flour)
- 2 teaspoons baking soda
- 1/2 teaspoon salt
- 1 teaspoon cinnamon
- 1 teaspoon nutmeg
- 1 teaspoon ground cloves
Wet Ingredients
- 4 eggs
- 2/3 cup water
- 2 cups pumpkin (I use canned pumpkin. Make sure that it is gluten-free if you are intolerant)
- 2 cups sugar
- 1 cup brown sugar
- 1 cup oil
Optional Add-Ins
- 1 cup gluten-free chocolate chips
Variations
One of the best parts about baking is how flexible recipes can be! Feel free to get creative with this Gluten-Free Pumpkin Bread. Here are some fun variation ideas:
- Add nuts: Toss in some chopped walnuts or pecans for added crunch and flavor.
- Spice it up: Increase the amount of spices if you love that warm autumn flavor even more!
- Swap sugars: Use coconut sugar instead of white or brown sugar for a healthier alternative.
- Chocolate twist: For chocolate lovers, add more gluten-free chocolate chips throughout the batter.
How to Make Gluten-Free Pumpkin Bread
Step 1: Preheat Your Oven
Start by preheating your oven to 350°F (175°C). Greasing your loaf pans now will save you time later and ensure your bread easily comes out without sticking.
Step 2: Mix Dry Ingredients
In one bowl, mix together all the dry ingredients: gluten-free flour, baking soda, salt, cinnamon, nutmeg, and ground cloves. Setting these aside allows their flavors to meld while you prepare the wet ingredients.
Step 3: Combine Wet Ingredients
In another large bowl, add eggs, water, pumpkin puree, sugar, brown sugar, and oil. Mix these until well combined. This step is essential because blending wet ingredients thoroughly helps achieve a smooth batter.
Step 4: Combine Everything
Now it’s time to mix! Gradually add the dry mixture into the wet ingredients. Stir until everything is well combined—don’t worry if it seems thick; that’s just how it’s supposed to be!
Step 5: Bake the Bread
Pour your batter into greased loaf pans and pop them in the oven. Bake at 350°F (175°C) for about an hour. To check for doneness, insert a toothpick into the center; it should come out clean when ready!
Step 6: Cool and Enjoy
Once done baking, let your loaves cool in their pans for a few minutes before transferring them onto a wire rack. This cooling step helps set the texture perfectly! Enjoy your delightful Gluten-Free Pumpkin Bread warm or at room temperature.
Now that you’ve made this lovely treat, I hope it brings as much joy to your home as it does to mine!
Pro Tips for Making Gluten-Free Pumpkin Bread
Baking gluten-free can seem daunting, but with these helpful tips, you’ll be a pumpkin bread pro in no time!
-
Measure your flour correctly: Use a spoon to scoop the flour into your measuring cup and level it off with a knife. This prevents packing, which can lead to dense bread.
-
Mix well: Ensure that all ingredients are thoroughly combined. Gluten-free flours need to be mixed well to create the right texture and consistency, so don’t rush this step!
-
Check your baking powder: Make sure your baking powder is fresh. Old baking powder can result in flat bread. A quick test is to mix a teaspoon of it with hot water; if it bubbles vigorously, it’s good to go!
-
Add moisture: If you find that the batter is too thick, add a little more water or oil. Gluten-free batters can dry out quickly, and extra moisture helps achieve a tender loaf.
-
Let it cool before slicing: Allowing the bread to cool in the pans for about 10 minutes before transferring it to a wire rack helps maintain its structure and prevents crumbling when you slice it.
How to Serve Gluten-Free Pumpkin Bread
This delightful gluten-free pumpkin bread can be served in various ways, making it perfect for any occasion! Whether enjoyed for breakfast or as an afternoon snack, here are some ideas on how to present this delicious treat.
Garnishes
- Creamy nut butter: Spread almond or cashew butter on warm slices for added richness and flavor.
- Cinnamon sugar dusting: A light sprinkle of cinnamon sugar on top adds sweetness and an inviting aroma.
Side Dishes
- Fresh fruit salad: A refreshing medley of seasonal fruits balances the sweetness of the pumpkin bread and adds a burst of color.
- Yogurt parfait: Layer gluten-free granola, yogurt (dairy or plant-based), and pumpkin bread pieces for a wholesome breakfast or snack.
- Spiced chai tea: The warming spices in chai complement the flavors of pumpkin perfectly, making for a cozy pairing.
- Mixed greens salad: Toss together some mixed greens with vinaigrette for a light contrast to the rich flavors of the bread.
Enjoy your homemade gluten-free pumpkin bread with these delightful accompaniments! 🍂
Make Ahead and Storage
This Gluten-Free Pumpkin Bread is perfect for meal prep! It’s easy to make in advance, and it stays fresh for days. Here’s how to store and enjoy it later.
Storing Leftovers
- Allow the bread to cool completely before storing.
- Wrap each loaf tightly in plastic wrap or aluminum foil.
- Store at room temperature for up to 3 days.
- For longer storage, place wrapped loaves in an airtight container or a resealable bag.
Freezing
- Wrap cooled bread tightly in plastic wrap, then in aluminum foil.
- Label with the date and type of bread for easy identification.
- Freeze for up to 3 months.
- When ready to enjoy, let it thaw in the refrigerator overnight before serving.
Reheating
- Preheat your oven to 350°F (175°C).
- Remove wrapping and place the loaf on a baking sheet.
- Heat for about 10-15 minutes until warmed through.
- Alternatively, slice individual pieces and microwave for about 20 seconds.
FAQs
Here are some frequently asked questions about making Gluten-Free Pumpkin Bread.
Can I make Gluten-Free Pumpkin Bread ahead of time?
Absolutely! This recipe is great for making ahead. You can bake the bread and store it as mentioned above, or you can prepare the batter a day in advance and bake it fresh when you’re ready.
Is Gluten-Free Pumpkin Bread healthy?
Yes! This recipe is not only gluten-free but also made with wholesome ingredients. You can adjust sugar levels or add nuts and seeds to boost nutrition. Enjoy this treat without guilt!
How do I know when my Gluten-Free Pumpkin Bread is done baking?
You can check by inserting a toothpick into the center of the loaf; it should come out clean when the bread is fully baked.
Can I use other flours instead of gluten-free flour?
While this recipe calls specifically for gluten-free flour, you could experiment with almond flour or oat flour. Just note that this may alter the texture slightly.
What can I add to my Gluten-Free Pumpkin Bread?
Feel free to get creative! Add-ins like walnuts, pecans, or gluten-free chocolate chips can enhance the flavor and texture of your bread.
Final Thoughts
I hope you enjoy making this delicious Gluten-Free Pumpkin Bread as much as my family does! It’s a wonderful treat that brings warmth and joy during the fall season. Whether you share it with loved ones or keep it all to yourself, it’s sure to be a hit! Happy baking, and don’t forget to savor each slice!
Gluten-Free Pumpkin Bread
Indulge in the warmth of fall with this delightful Gluten-Free Pumpkin Bread, an easy-to-make treat that captures the essence of the season. With a perfect blend of spices including cinnamon, nutmeg, and cloves, each slice offers a cozy hug on chilly days. This family favorite is not only simple to whip up but also a fantastic option for busy weeknights or gatherings. Whether enjoyed fresh with a cup of coffee or as a sweet afternoon snack, you’ll find it disappearing faster than you can say “pumpkin spice.” The best part? It freezes beautifully, so you can enjoy its deliciousness anytime!
- Prep Time: 10 minutes
- Cook Time: 60 minutes
- Total Time: 1 hour 10 minutes
- Yield: Approximately 12 servings 1x
- Category: Dessert
- Method: Baking
- Cuisine: American
Ingredients
- 3 1/2 cups gluten-free flour
- 2 teaspoons baking soda
- 1/2 teaspoon salt
- 1 teaspoon cinnamon
- 1 teaspoon nutmeg
- 1 teaspoon ground cloves
- 4 eggs
- 2 cups pumpkin puree
- 2/3 cup water
- 2 cups sugar
- 1 cup brown sugar
- 1 cup oil
Instructions
- Preheat your oven to 350°F (175°C) and grease your loaf pans.
- In one bowl, mix together the gluten-free flour, baking soda, salt, cinnamon, nutmeg, and ground cloves.
- In another bowl, combine the eggs, water, pumpkin puree, sugar, brown sugar, and oil until smooth.
- Gradually add the dry mixture to the wet ingredients and stir until just combined.
- Pour the batter into greased loaf pans and bake for about 60 minutes or until a toothpick inserted in the center comes out clean.
- Allow to cool in pans for a few minutes before transferring to a wire rack.
Nutrition
- Serving Size: 1 slice (approx. 70g)
- Calories: 210
- Sugar: 18g
- Sodium: 145mg
- Fat: 9g
- Saturated Fat: 1g
- Unsaturated Fat: 7g
- Trans Fat: 0g
- Carbohydrates: 33g
- Fiber: 2g
- Protein: 3g
- Cholesterol: 55mg